- Unless significant improvements have been made to the UI (in which case this Guide may have been made obsolete), I don’t recommend playing Algotica: Iterations, for reasons discussed in My Review,
and - The lack of explicit explanations in-game undermines Algotica’s educational aspirations. I don’t think anyone is going to learn anything about programming from this game.
But, if you’re going ahead with it anyway, here is a more explicit discussion of the UI and basic gameplay than is actually provided in-game.
Main Menu

Inexplicably, you have to click the Gear Icon at the bottom to find the option to exit the game.
The “ARE YOU SURE YOU WANT TO” button clears your save file. Because of this un-intuitive interface, I lost my whole save file when I tried to quickly exit the game for the last time. Luckily I had just gotten all the achievements and had no interest in revisiting the game at that point.
In Game: Mini Menu

- The Yellow Gear Icon on the left
is the RUN command to implement the program you’ve built (read on). On the one hand, it’s an absolutely essential button and should’ve been prominently displayed in the Core Interface. On the other hand, it’s completely redundant, since the “ENTER” key does the same thing (though the game never tells you that, and instead encourages you to waste clicks going to the mini menu). - The Red Pin Icon on top
lets you access the level select map. It’s completely redundant, as the “Esc” key more intuitively does the same thing. - The Red Page+X Icon on the right
lets you CLEAR YOUR ENTIRE list of commands and start over writing your program from scratch. It’s an exceptionally useful button that should’ve been prominently displayed in the Core Interface.
In Game: Core Interface
Before discussing the main panels, let’s deal with 4 small icons:
- The Memory Card Icon at top-center
Shows how much memory you have available. Implementing any 1 Command in your Program costs 1 memory (but see the discussion of the SUBFUNCTION Panel below). You want to try to minimize the amount of memory you spend when possible, because having spare memory is required to unlock the next set of levels. In practice this is not much of a challenge. - The 2x Clock Icon at top-right
lets you double the rate at which your program plays when you click the RUN button from the mini menu above your robot’s head. This only helps to speed up trial and error, it does not function as part of a solution on any level. - The ? Icon at top right
is completely useless, apparently. Clicking it pulls up a list of the different commands (“Forward,” Backward,” etc.). It says “Syntax” at the top, and might have been intended to convey clarifications about the commands, but it offers no information at all. You should ignore it. - The Red BREAK button at bottom center
Lets you “Cancel” the program after clicking the RUN button in the mini menu above your robot’s head. This just lets you go back to editing your program before you RUN it again.
———————————————–
THE COMMAND LIST
is accessible by clicking the + Icon at the top of the screen, as shown below:
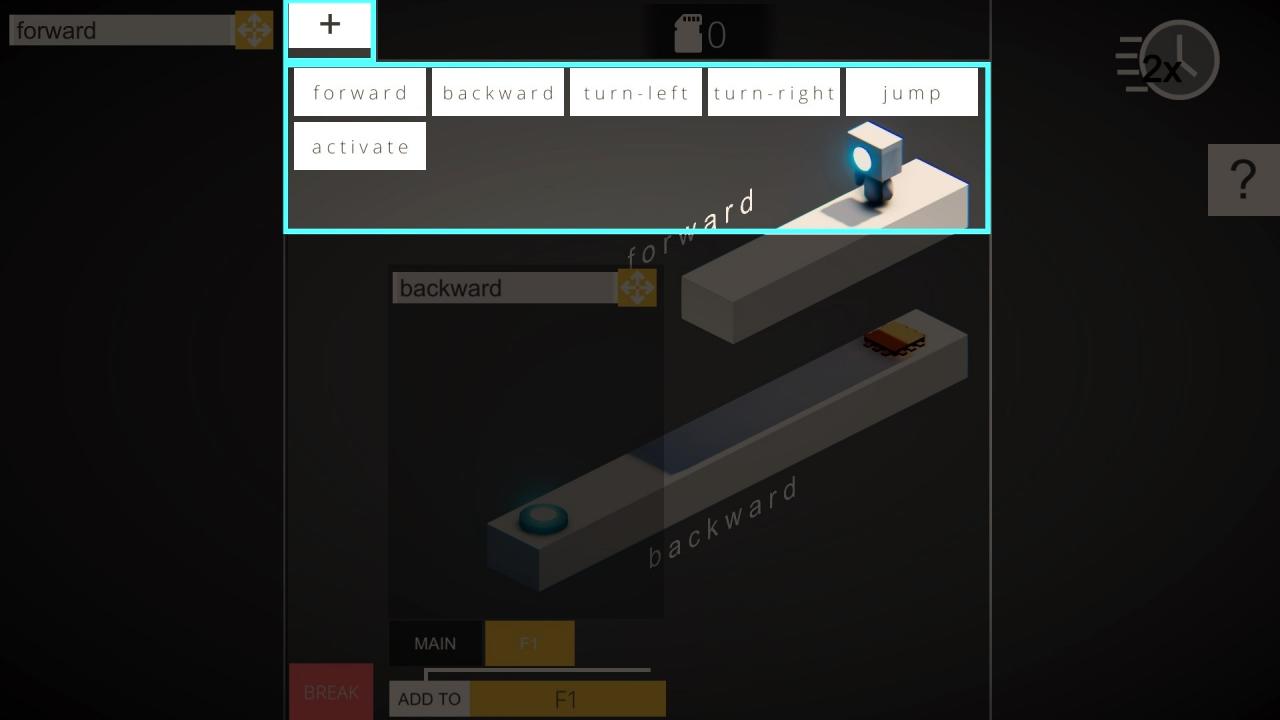
Later in the game you will find new Commands that appear on the list. After you’ve clicked the + Icon to open the Command List, clicking any one of the Commands will add it to your program. However, where the Command is added depends on what other panels you have open. Read on.
———————————————–
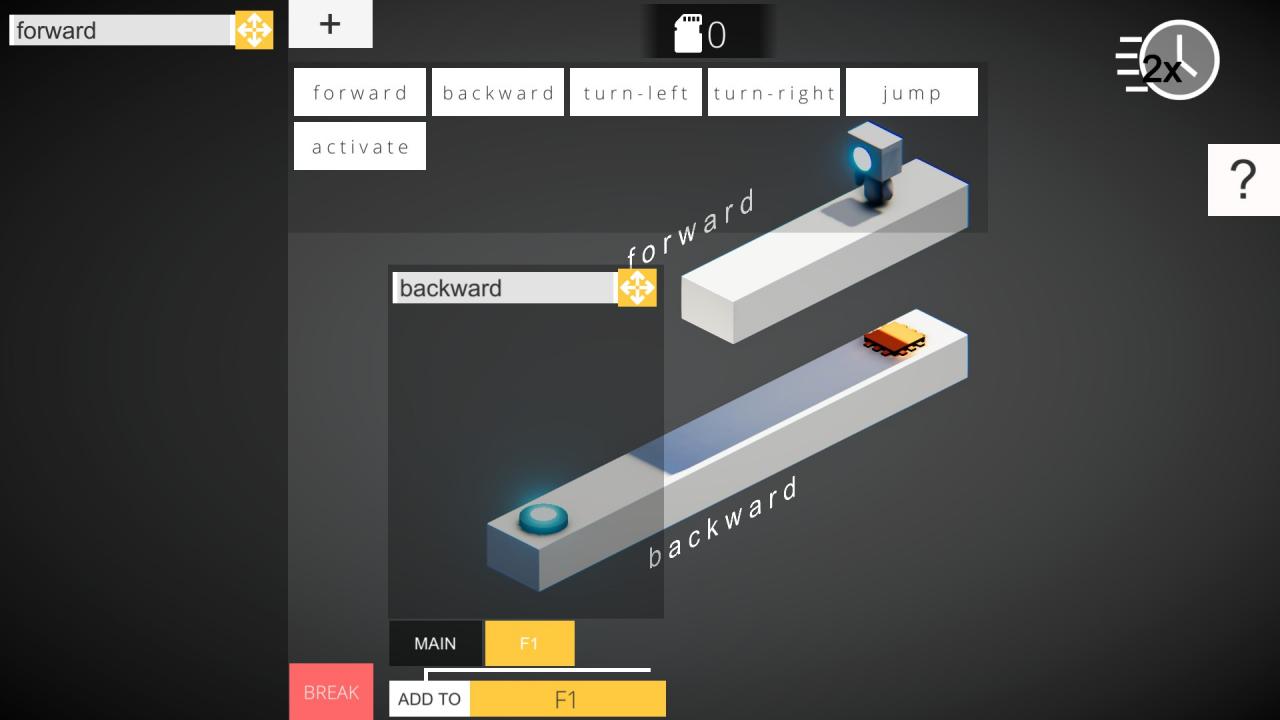
THE MAIN PROGRAM PANEL
is always displayed on the left, as shown below. In this example I have only a single command, “Forward” in my program.
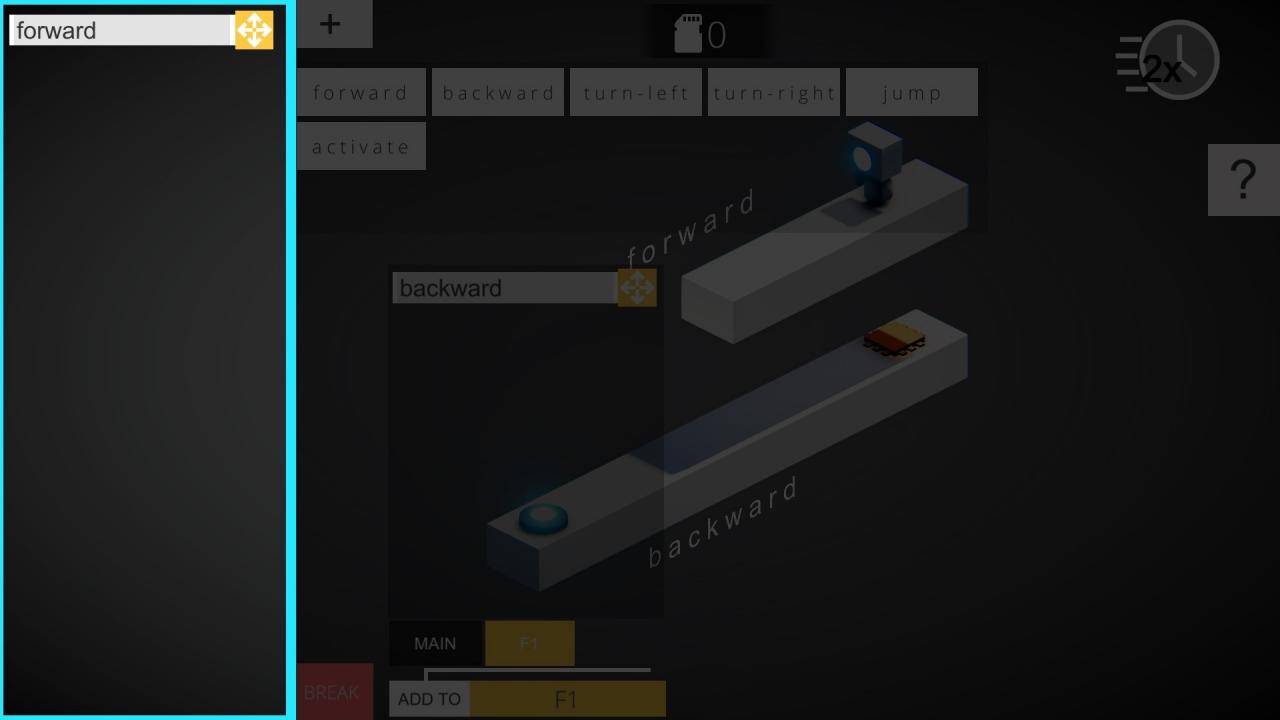
When you click any command from the COMMAND LIST, it gets added to the bottom of MAIN PROGRAM PANEL — unless you have the SUBFUNCTION PANEL open, see below.
In principle, you should be able to drag and drop commands in the MAIN PROGRAM to reorder them by using the the little ⯐-like icon on the right side of each command. In practice this is extremely clunky unless you move your cursor very slowly. You can also use the same ⯐-like icon to drag a command out of the MAIN PROGRAM and into the trash. Again: you need to move very slowly to avoid the UI getting confused about what you’re doing.
When you click the RUN button, your robot will execute the sequence of Commands displayed in the MAIN PROGRAM. If the robot reaches the end of the program and can still move, it will loop back through MAIN PROGRAM starting at the top.
———————————————–
THE SUBFUNCTION PANEL
Clicking the Large Yellow F1 Button at the very bottom of the screen opens and closes the SUBFUNCTION Panel, as shown below. In this example I have only a single command “Backward” in my Subfunction:
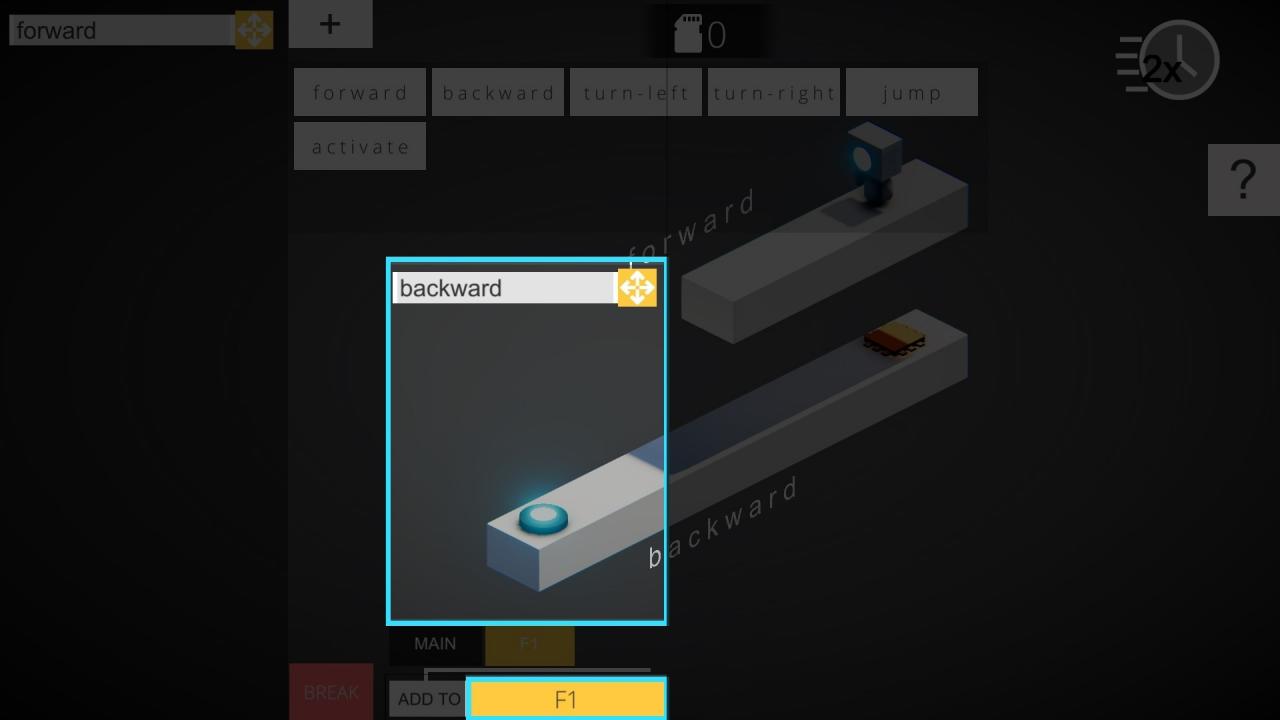
You can build a SUBFUNCTION in exactly the same way you build your MAIN PROGRAM: by clicking on a command from the COMMAND LIST.
NOTE: As long as you have the SUBFUNCTION panel open, clicking any command in the COMMAND LIST will add that command to the SUBFUNCTION, NOT to the MAIN PROGRAM. To return to editing the MAIN PROGRAM, you need to click the Large Yellow F1 Button again to close the SUBFUNCTION Panel.
Building a set of Commands inside the SUBFUNCTION panel does not yet integrate it into your MAIN PROGRAM. To do that, you’ll need to access…
———————————————–
THE “ADD TO” PANEL
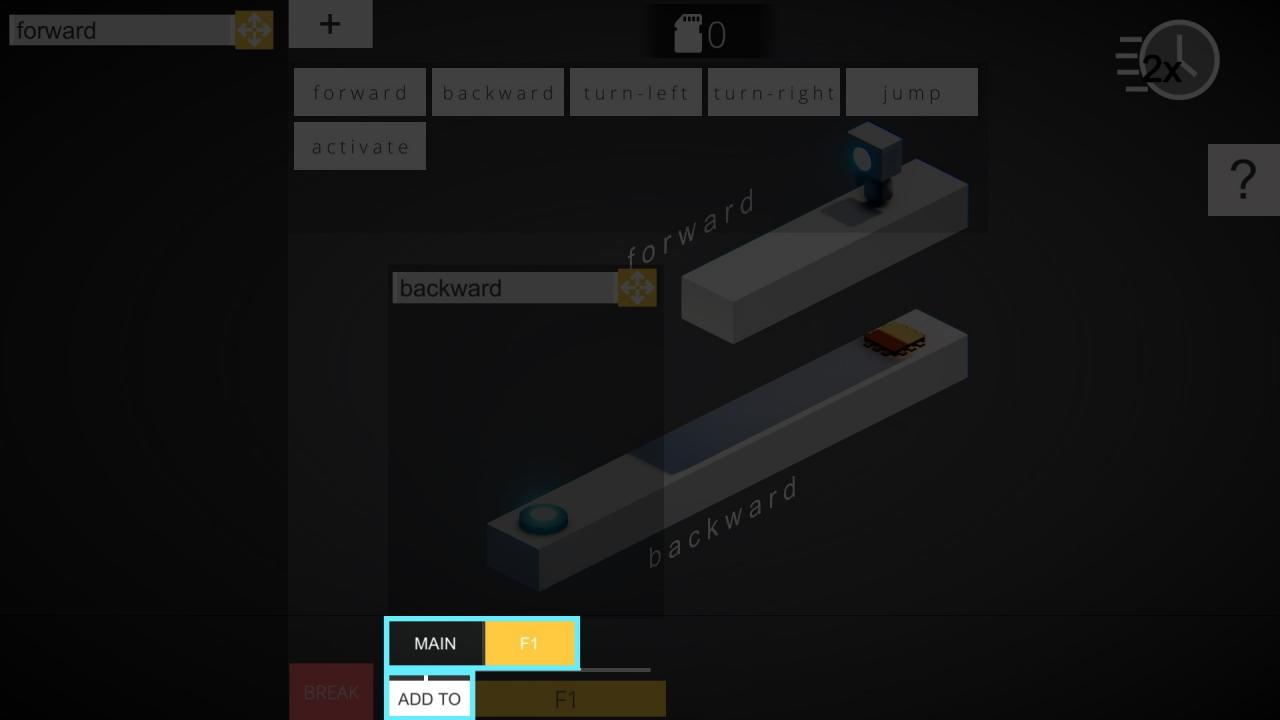
Clicking the white “ADD TO” button at the bottom opens and closes this small panel. Clicking the black MAIN button will insert your whole Subfunction into the MAIN PROGRAM PANEL, in exactly the same way that clicking a command in the COMMAND LIST adds that command to the MAIN PROGRAM.
I have no idea what clicking the small yellow “F1” button is for. It appears to iterate your subfunction inside your subfunction. I never needed to use it, and I”m not sure if it works.
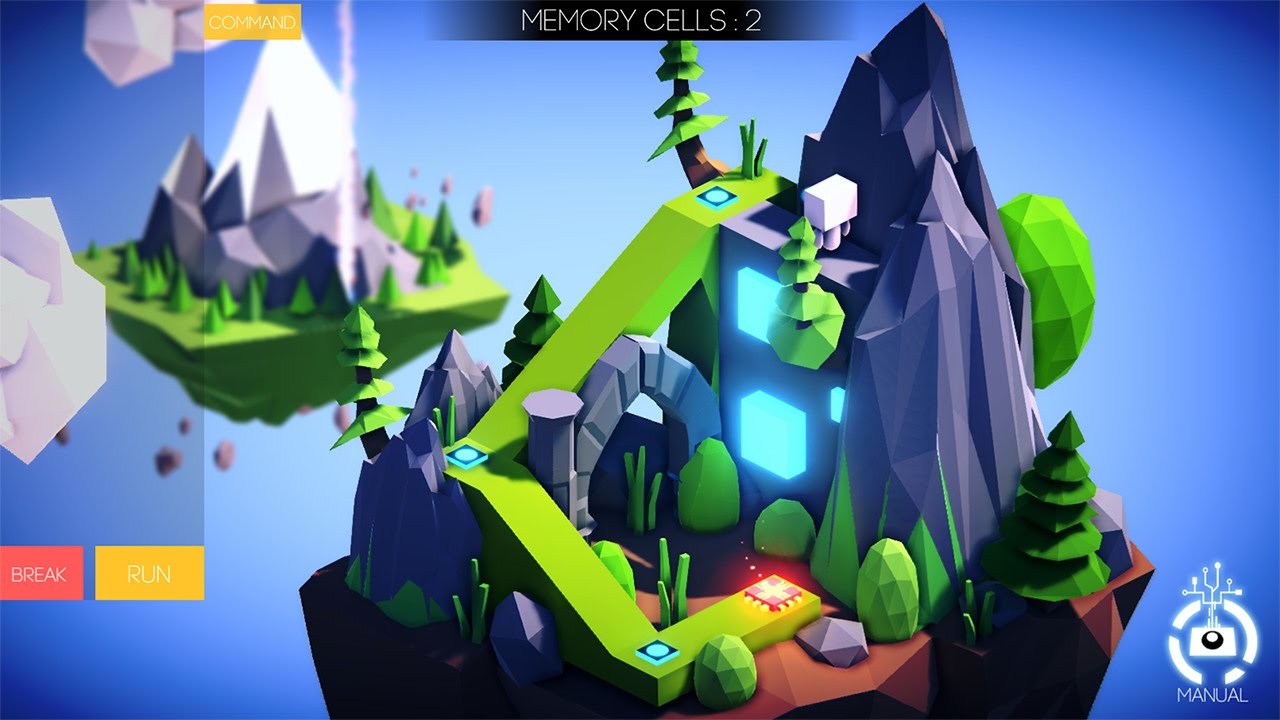
The Point of All This
On later levels, you’ll need to collect blue cubes to unlock the exit, and you’ll need to schedule your movements to avoid enemies that kick you off the board.
Along the way, you’ll want to try to save memory whenever possible as you solve levels, since spare memory is required to unlock the next set of levels.
Writing Subfunctions is the main way to save memory. For example, if you wanted to walk clockwise in a square, you would walk “Forward” and then “Turn Right,” and you would repeat these two steps 4x. That would be a total of 8 commands. You can instead write a Subfunction that contains only 2 commands: “Forward” and “Turn Right.” Then you can call the subfunction 4x inside your MAIN PROGRAM. You just saved 6 memory.