How to use the level terrain tool to raise and lower ground most effectively.
Preparation
The Technique
 .
..
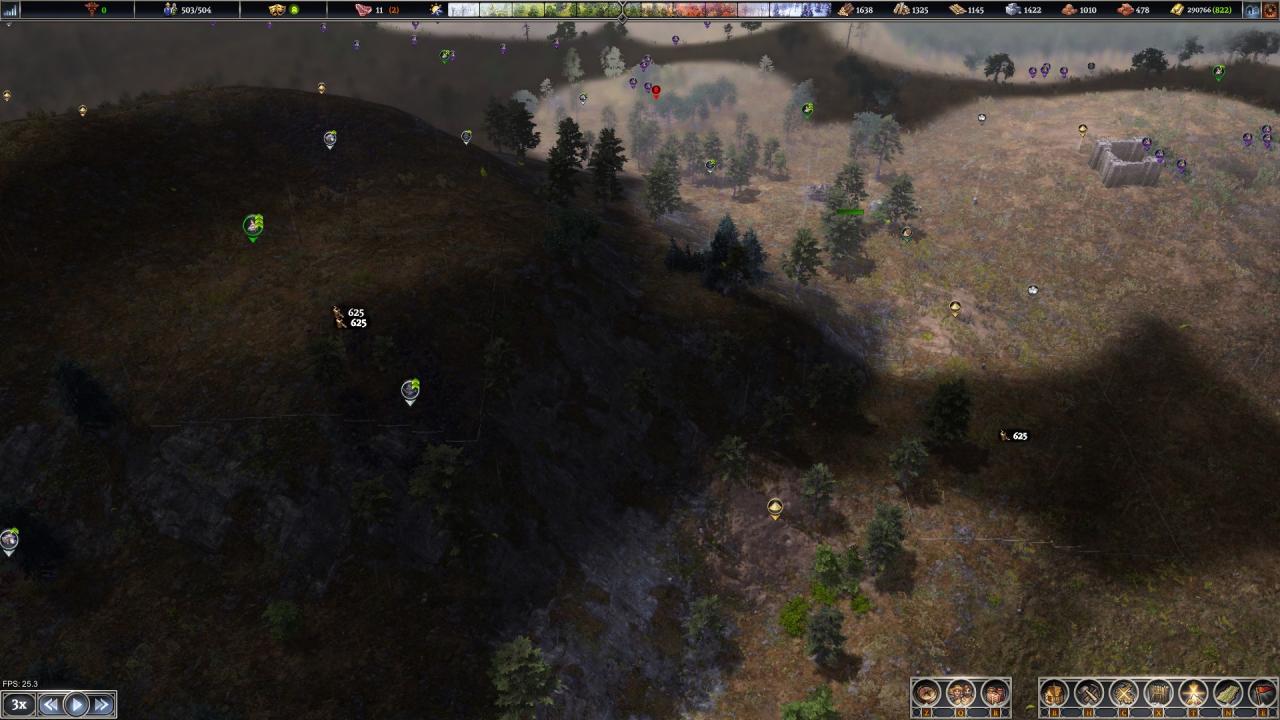
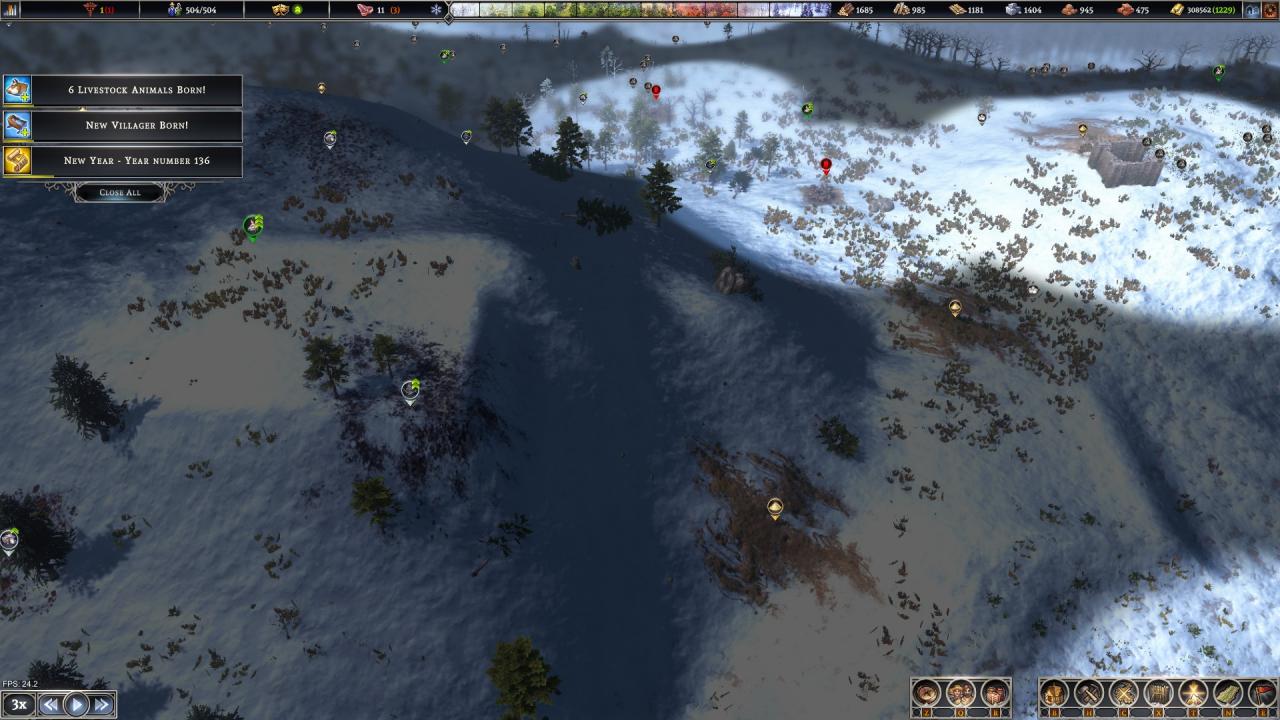
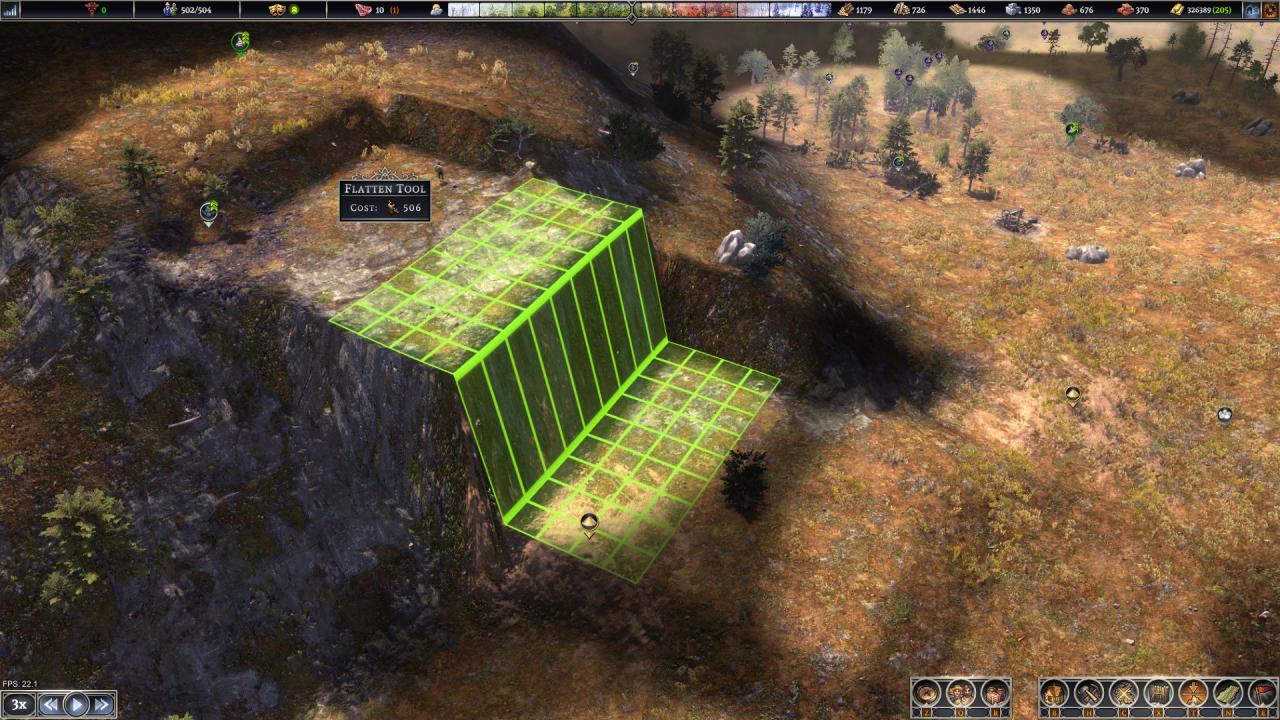
First build a platform as high as possible. Do this by flattening the highest 1×1 point and then adding one slope to it at a time. Here I have just made a flat 10×10 high and low for demonstration purposes.
 .
.
.
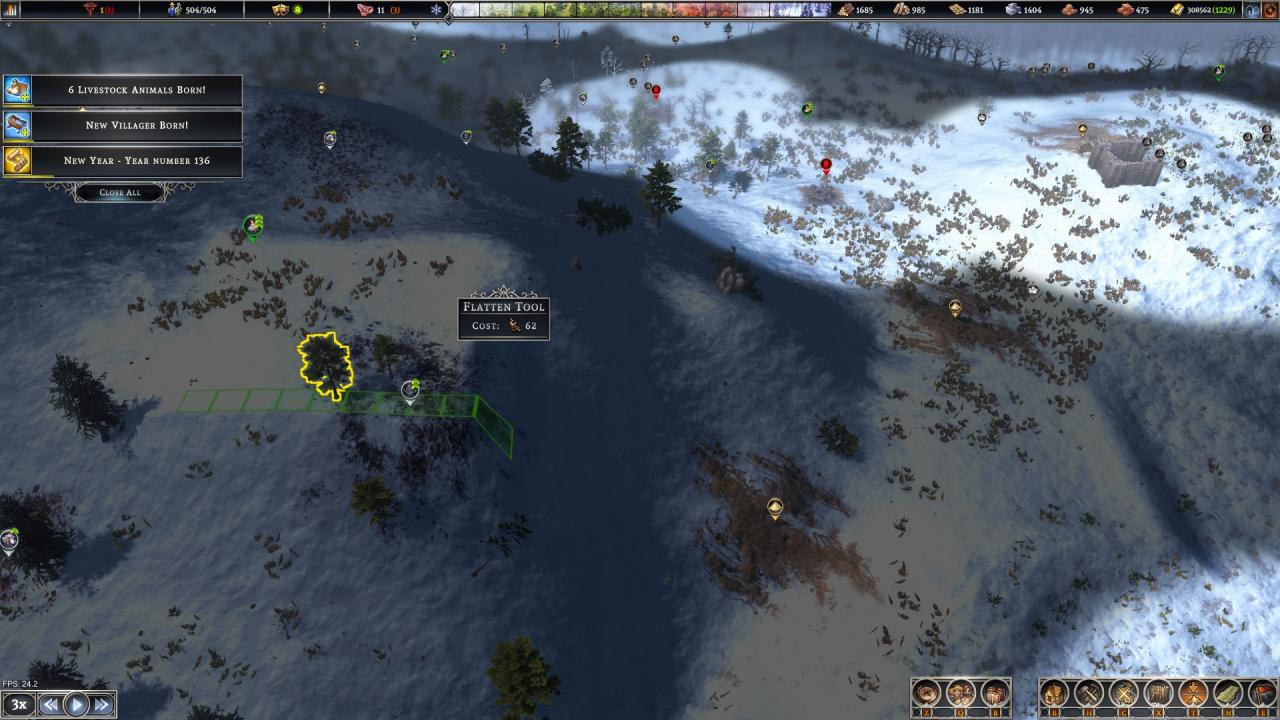
Then extend it out with 10×1 areas where only one square has is sloped down.
 .
.
.
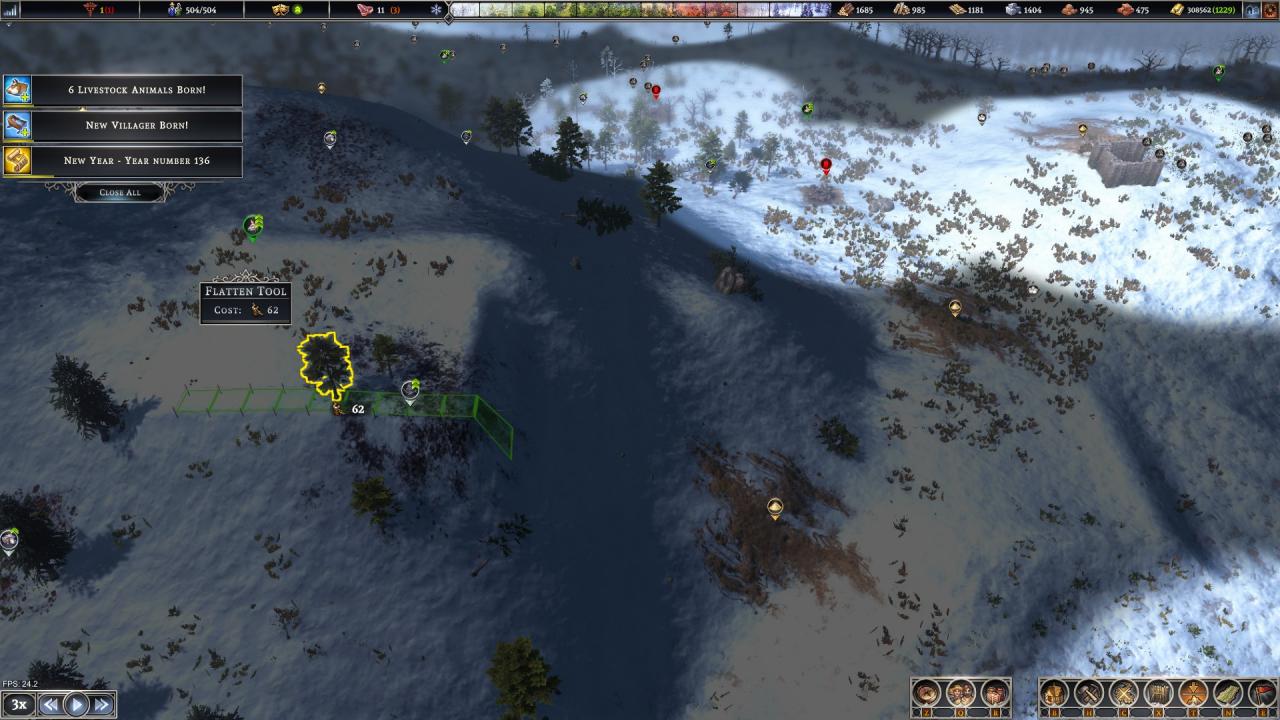
Do each area about 4 times until it is flat. You can stack the orders, don’t wait for each to finish before placing the next. With a bit of practice you get the a habit of double clicking at each end of the row.
 .
.
.
If you want a big platform then start with a 10×10 area and do the inching trick in every second row and you’ll find the rows in between magically fill in too.
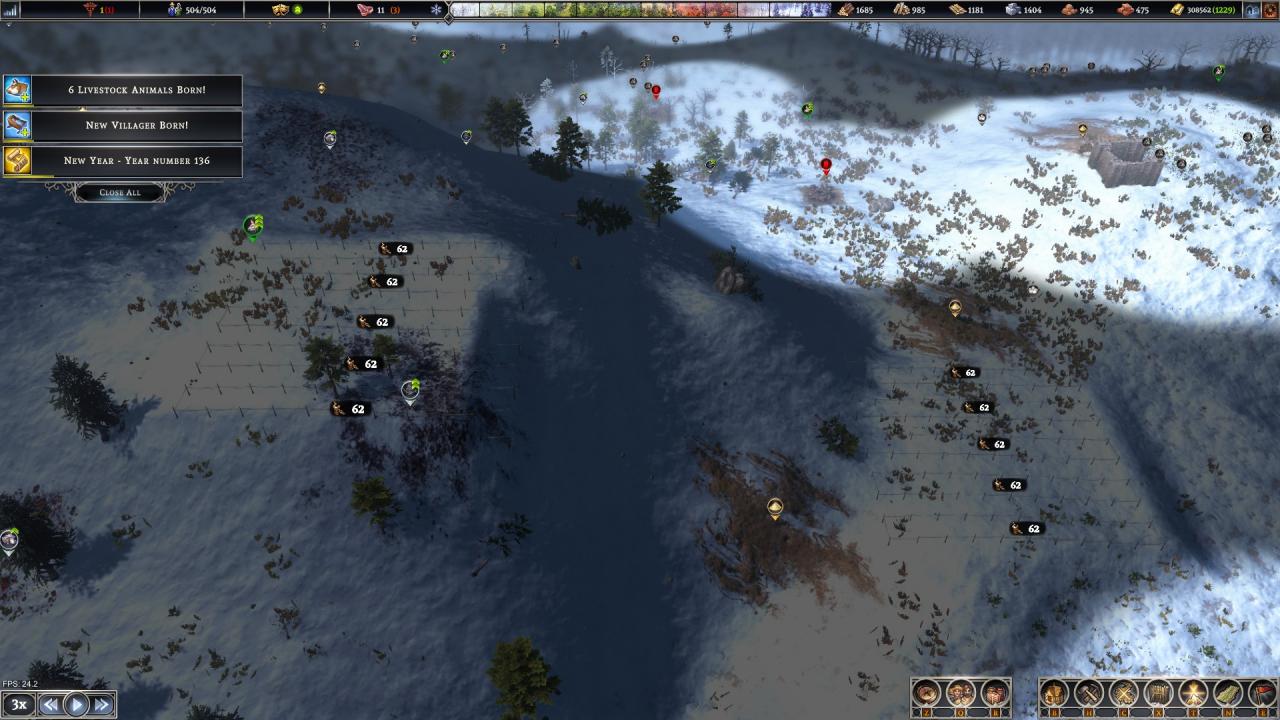 .
.
.
Once that is done you step out to the new slope and inch your way along one sloped square at a time. Here is the process about half way through.
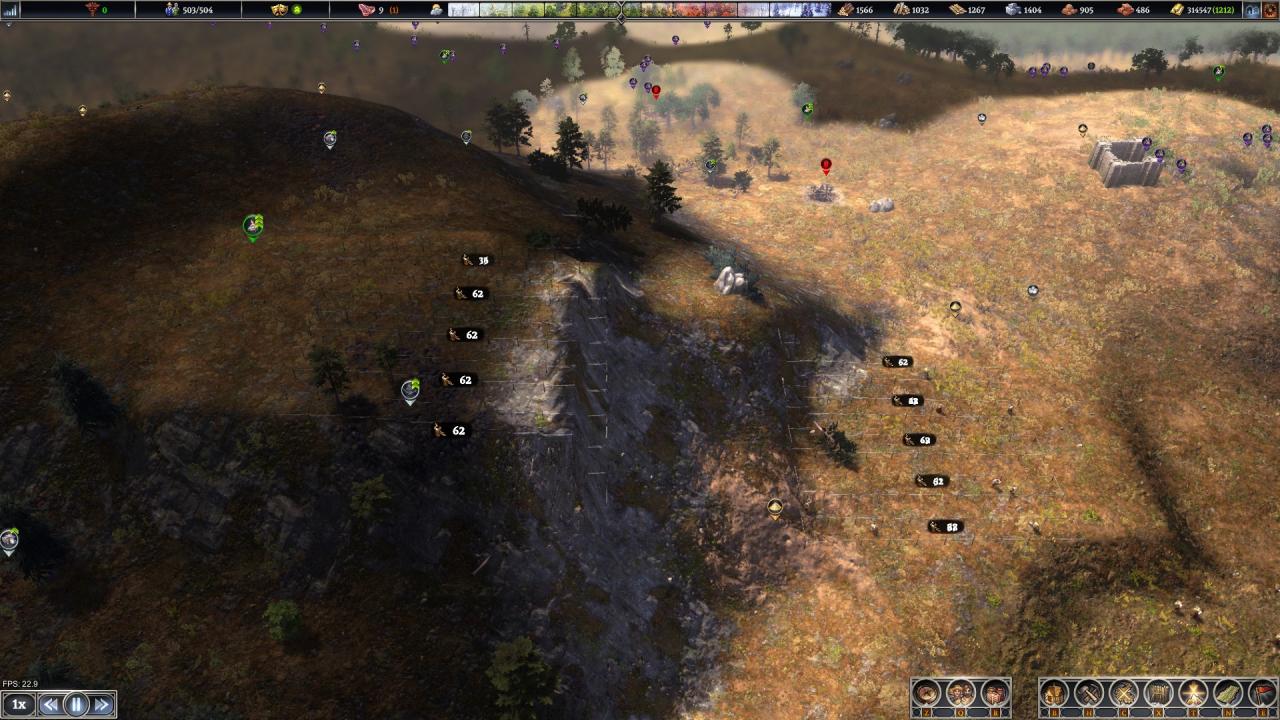 .
.
.
You can do multiple sweeps for maximum effect, here I’ve been lazy and just done one pass.
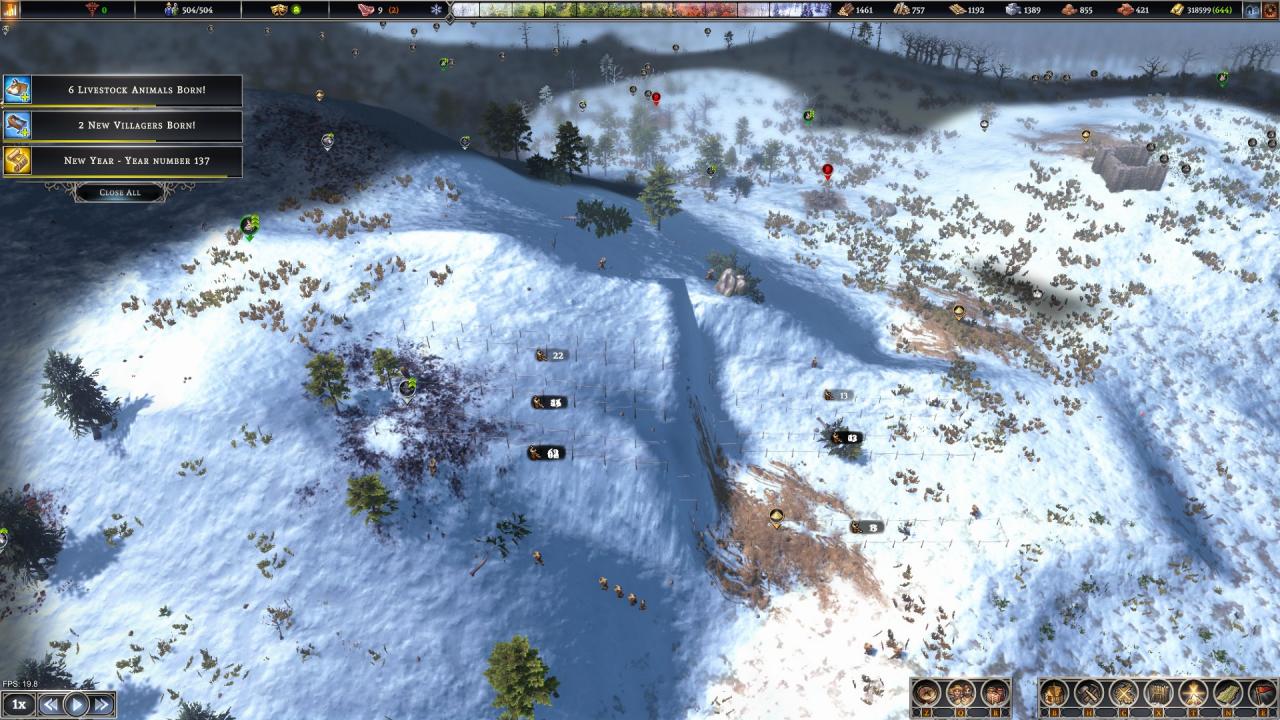 .
.
.
Once you’re happy with it and want to build just give a big order to flatten the whole area.
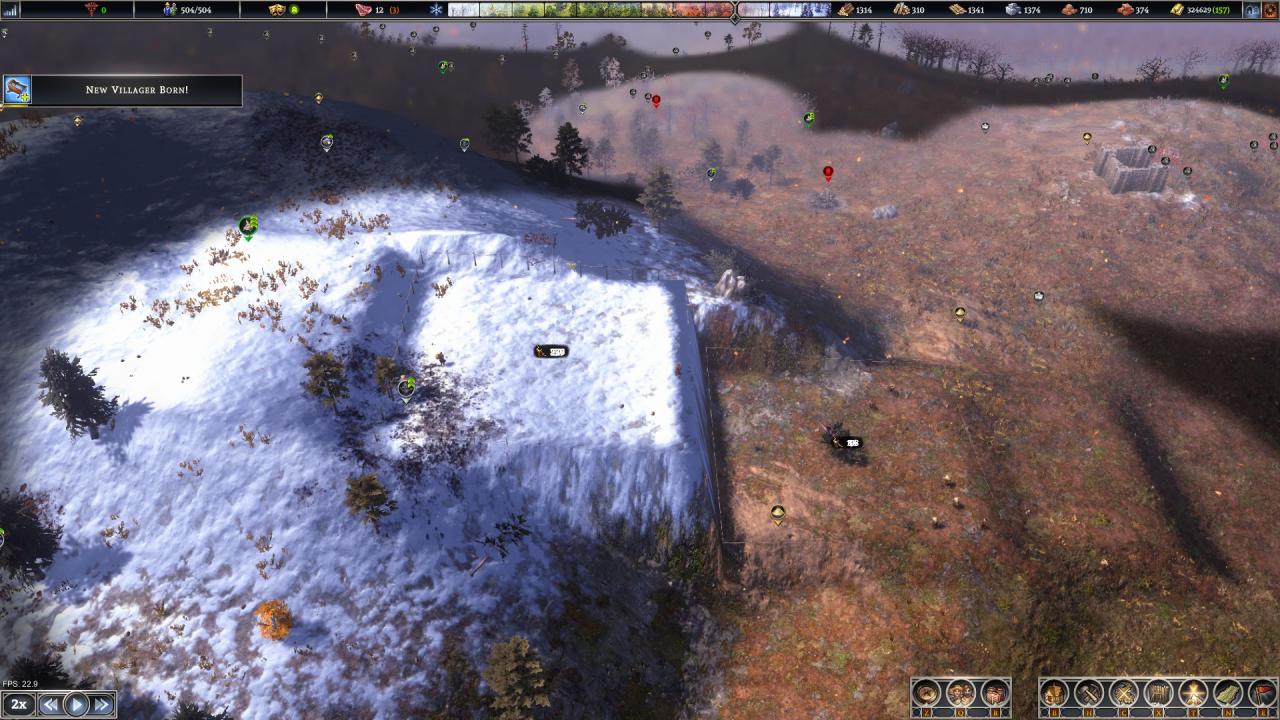
.
The final result.
 .
.
.
To lower ground you do the opposite, ideally draining into a water edge tile because it can’t be raised and will pull everything down (be careful though it’ll make that area next to water unbuildable).
If you want to make an impassable wall you do one of each with a gap between them.
Thanks to MeowBeep for his excellent guide, all credit to his effort. if this guide helps you, please support and rate it via Steam Community. enjoy the game.
Related Posts:
- Farthest Frontier: Storage Guide and Tips for New Players
- Farthest Frontier: How to Get More Builders
- Farthest Frontier: How to Extended Camera with Mod

