This guide will show you how the level editor works, and how to create a character for the game.
The first step would be to get into the level editor, to do so, you’ll need to go to the “mods” section, then the “create” one and finally select the “create level” option.
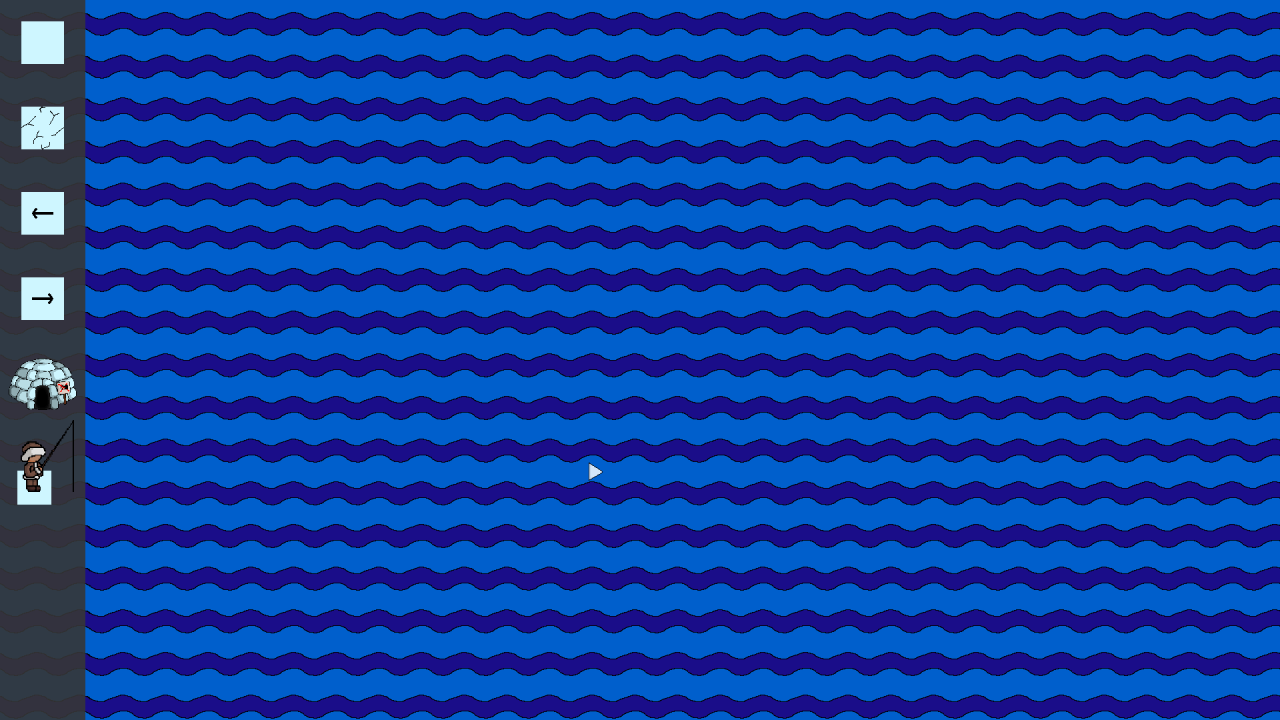
Once you enter the level editor this is what you will see:

On the left side you can see a bar that will hide after a few seconds, to make it show again, you can move your mouse to the left side of the screen. In this bar you can select which block you want to add into the level, just click on the icon and then click on the water, it will appear (unless it is the igloo which will require some block beneath it).
You can press “G” to toggle a grid so that you can add the block where you want more precisely.
If you place moving blocks, you can press the space bar to have a preview of the movement/path those blocks will follow. Once you are done with the preview you can press space again to go back into editing mode.
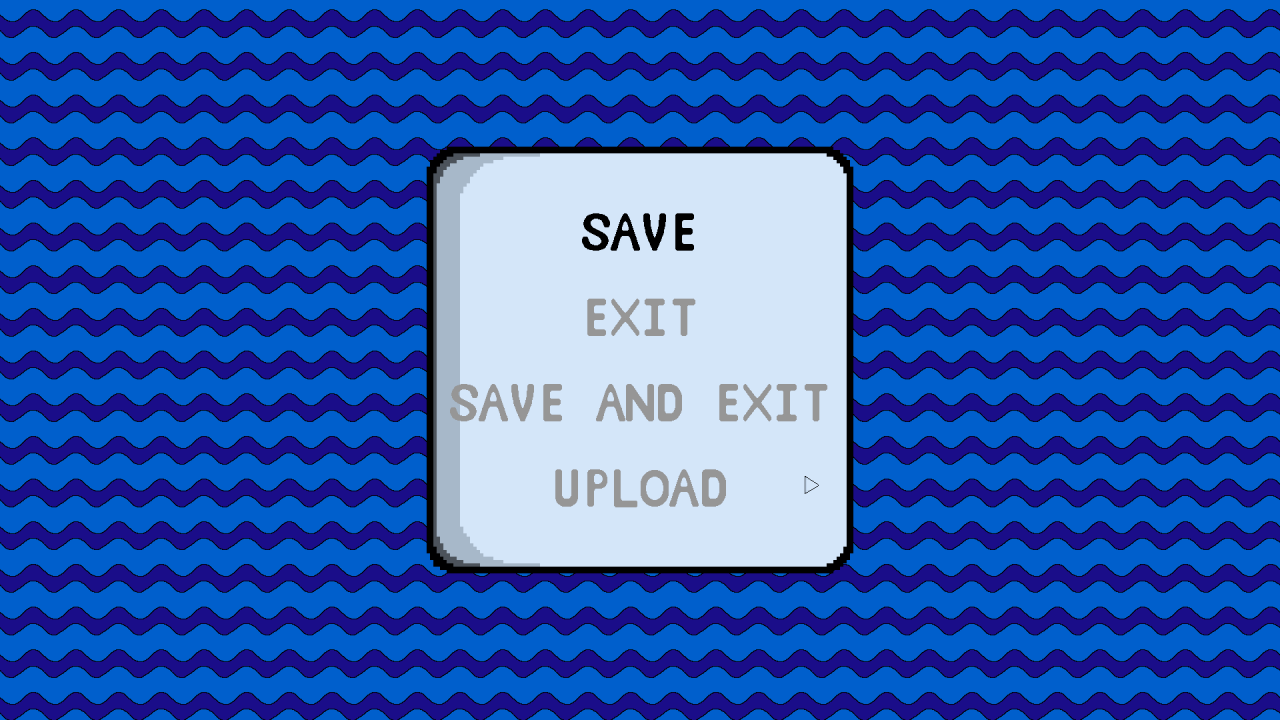
Once you are happy with your result, you can save the level through the options menu that will appear when pressing escape.

In this menu, you can save your level, exit without saving or upload the level to the steam workshop.
If you don’t want to save the level you can just hit exit.
If you want to save it to be able to edit it in another moment you can select the “save” option and give the level a name.
Once you have saved the level you can upload it to the steam workshop by selecting the “upload” option. Once it is uploaded, a message will pop up and tell you that the update has been successful.
If you want to edit a level you have previousely saved, you will have to follow the intial steps of getting into the level editor, but in the last step instead of selecting “create level” select “load level”.

