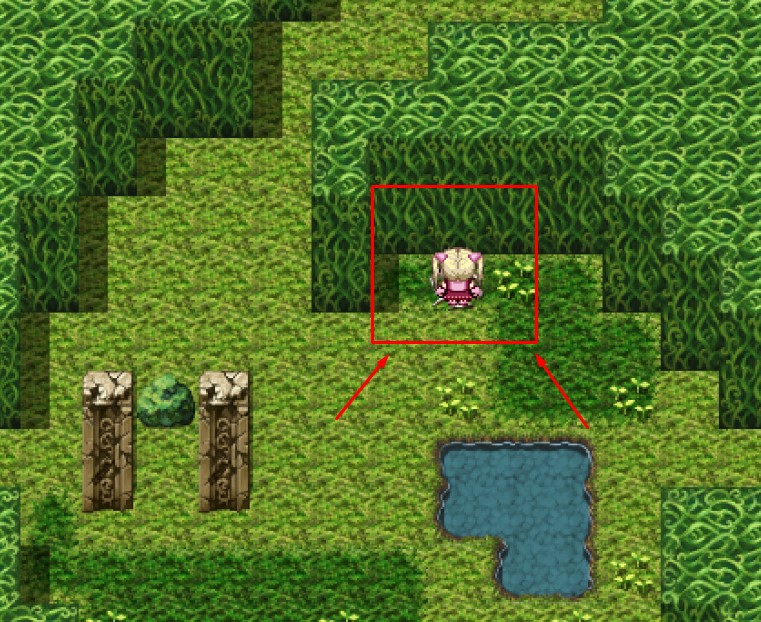
When I first opened the quest log in Lord Liberty Quest II ~Pure White~, I figured I’d just follow the markers and be done with it. That held true for most of the main story, but the further I got, the more I noticed how much of this game hides behind unspoken prerequisites, missable windows, and NPCs who only show up if you’ve done something else first. So I sat down and wrote out what I wish I’d had from the start — not just the quest names, but the requirements, the hidden spots, and the traps that send you into a bad end if you’re not paying attention. 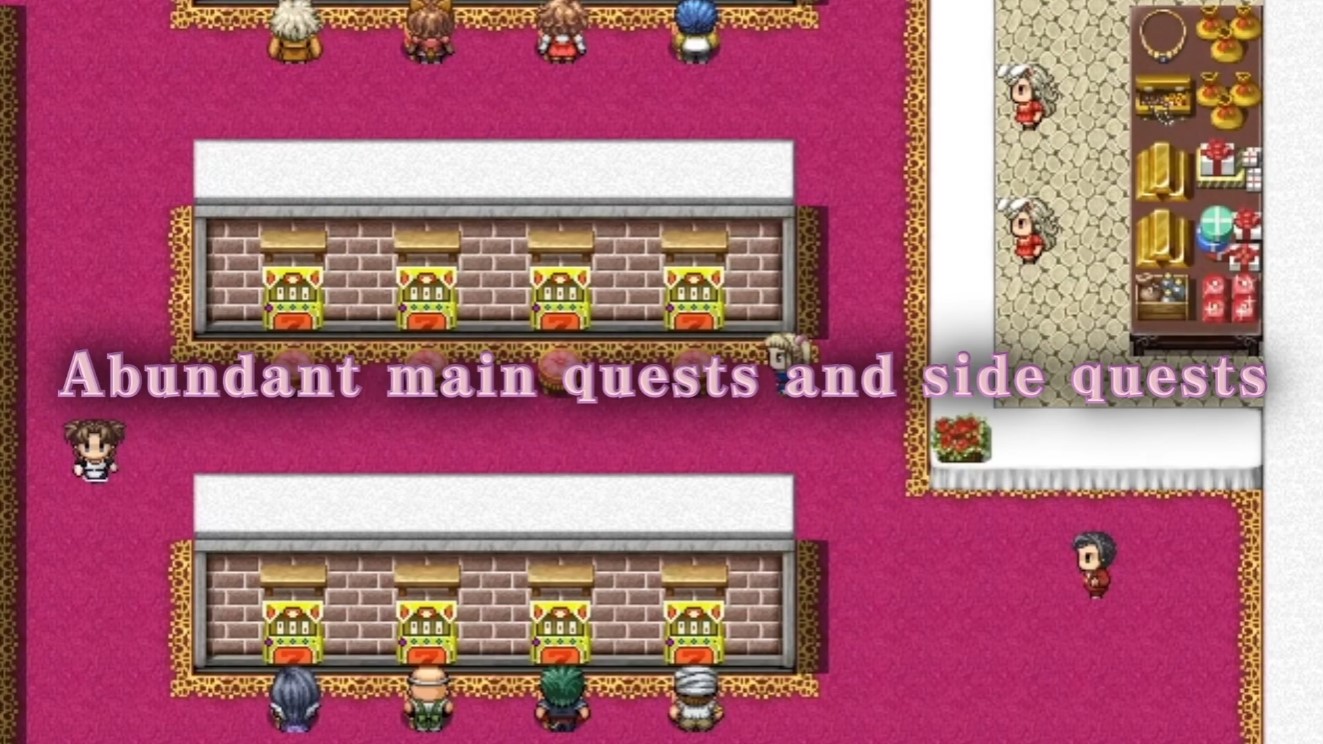
Image: The Official Trailer
Almost every quest in the game is covered below. Most of them are actually pretty clear about what they want from you, but a fair number have prerequisites before you can even accept them, and a few have locations or triggers the game never spells out. That’s the gap I’m trying to fill here.
A Few Things Worth Knowing Before You Start
If you’re scanning the world for quests, look for the exclamation point “!” above an NPC’s head — that’s your signal they have something for you or that talking to them will push a quest forward. I’ve walked past more than a few of these before I trained myself to actually look up.
Two stat gates matter a lot for the Another Story route: you need 250+ Lewdness and 150+ Corruption. The fastest way I found to stack Lewdness is to take out a loan and simply never pay it back. For Corruption, you can either steal or walk around naked in Gardis and resist when you get caught.
On the quality-of-life side, hold Ctrl to speed through dialogue — invaluable once you’re re-reading the same exposition. The gallery is the book in Konoha’s room in the church. And if you’re unsure where to even begin, talk to the barkeep in Gardis for a pointer on where the game starts.
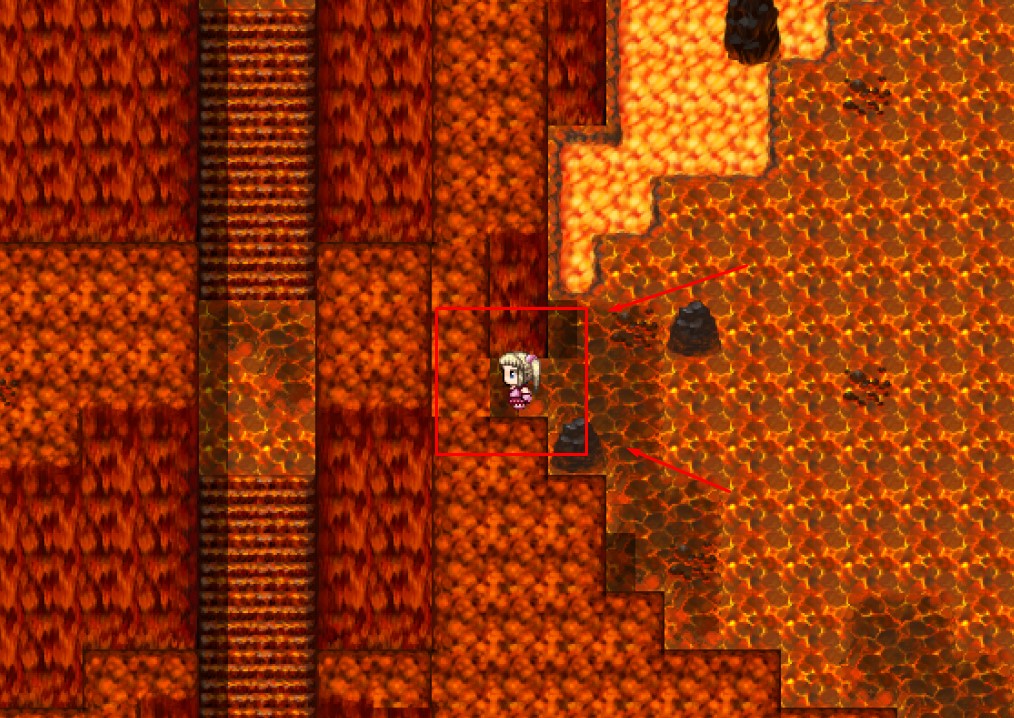
A couple of item locations I had to dig for: the second piece needed to access the Ancient Ruins of Galta is in Dodonga Volcano, and the boss holding it sits in a hidden room. There’s also a shrine in Sea God Balasso’s Shrine, and the offering it wants is the drop from the kraken you fight when you take a ship between Glardis and the Town of Teret.
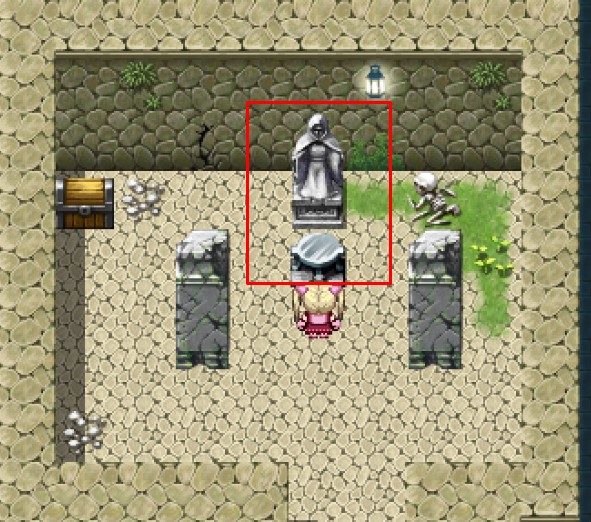
Silky Bucks Sorcery Academy and the Labyrinth of Witch Flagis
This one doesn’t show up in your quest log, which is exactly why it’s easy to overlook — but it hands you a TP + MP spell, so it’s worth the detour. First you need to progress the story far enough that you can reach Purun Island.
Once there, talk to the NPC at the academy’s front desk about enrolling. Your first credit comes from defeating an enemy to the north on the mountain above the town. The second credit is earned by writing an essay, and this is where I stalled for a bit. There are three topics, and the ones I went with were:
- History of Sorcery
- War of Spirits
- Demon King
For the “War of Spirits” essay, the game told me to redo it — but when I submitted the same answers again, it went through. And the key line for that topic is that both sides were on the brink of extinction.
Before you take on the head master for your final exam, head to the prison. If the guard isn’t asleep yet, go sleep in your bed at the academy and come back until he is. Steal the prison key and head to the top-left cell. That drops you into the Labyrinth of Witch Flagis, where you find and defeat her. Doing this first gives you extra rewards and — more importantly — makes the head master fight noticeably easier.
Main Quest Notes
Most of the main quests are straightforward and hard to get lost in, so what follows is just the minor stuff I had to search around for.
Desert Repairman
Follow the paths west and you’ll reach the desert. The man in front of the tent lets you use the buggy, and you genuinely need it — crossing the desert on foot means fighting the titans, and losing to one is a bad end. The part you’re after comes from a merchant in the underground area of Powat. If you can’t get down there yet, talk to Ilia at the bar in Powat and she’ll hand over the part you need.
Golden Key
There are two ways to get it. The first is Pirate Island Valgan, reached through the underwater passage by Sea God’s Shrine — leaving Glardis, it’s North, then North, then East. You challenge the boss there, and win or lose, you walk away with the key. The second is to buy it from the casino. If you go the casino route, do the side quest Gambling Miracle-Worker as well.
Endings
You’ll fight three bosses at the end, and the third is the one you actually want to lose to. Which ending you get depends on your stats and the equipment you bring in.
| Ending | Requirements |
|---|---|
| True End | Be a virgin, complete Rescuing A Succubus, have the Pure-White pendant equipped before the final boss, lose to the final boss on purpose, then win after being saved by the succubus. |
| Normal End | Simply defeat the final boss. |
| Another Story | 250+ Lewdness and 150+ Corruption, then lose to the final boss. |
| Bad End | Lose to the final boss without meeting the Another Story requirements. |
Sub Quests
Hired Muscle
To start it, talk to the NPC with the “!” above their head on the left side of the pub in Glardis, then talk to the NPC just outside Glardis. You can pick whichever option you like here — the top option rewards you with a Gold Purse (M), and the bottom one gives you an Arcande Crystal (M).
Secrets of the Underground
Finishing this one adds an extra fight before the final boss, and it requires Hired Muscle to be complete first. Losing any of the fights in this chain is a bad end, so save before every step — I learned that the hard way.
Head into the house with the yellow roof and talk to the NPC on the west map of Glardis, then go into the castle and talk to the NPC beside the King. After that, head to Powat’s Pub and speak with Ilia at the bar. You can either join or fight to progress, and the entrance sits on the west side of the Powat map. If you chose to join, talk to the NPC blocking the path west after reaching the underground, then pick the fight option once you’re inside the tent. If you forced your way in instead of joining, enter the tent at the bottom right of the map. Finally, return to the church and talk to the NPC in the top right where the beds are — you’ll receive the Dingy Jar.
Rescuing A Succubus
In the Succubus Forest, head west to the next map, and make sure you have the Pure-White pendant equipped before you do. Go to the top floor and interact with the chair, back to the first floor to talk to the NPC with the “!”, then back upstairs. You’ll find them in the south-east part of the south map. Completing this unlocks lust whenever an enemy defeats you with an H-scene.
Forbidden Fortress 1
This requires Secrets of the Underground to be complete. Talk to Ilia in the prison inside the castle, then head back to the yellow house on the same map as the casino. Exit Gardis through the front, head east, and enter the house — there’s a book inside to interact with. The entrance itself is on the map north of the Arena, and from there the quest is fairly direct. There’s a second way to reach it too: take out a loan, then rest in the church bed for 11 days and you’ll be brought there.
Holy Chalice
You need Secrets of the Underground completed and the Dingy Jar obtained from the father and daughter. To start, head to Dodonga Volcano. Go up the stairs, then head east until you hit a map change. Interact with the broken altar and accept the quest, handing over the Dingy Jar. Your reward is the Astral Blade, a 100 TP + 500 MP sorcery spell.
Sharper Hunt
Enter the casino in Glardis and talk to the first NPC you can interact with to start. Equip the maid outfit and interact with them again to properly begin. The NPC will run around, and you’ll need to chase one of them down and defeat them.
Gambling Miracle-Worker
Get the maid outfit from Sharper Hunt first, since you’ll need it here, and have 3000+ coins so you can access the VIP section of the casino. Go to the red circle and try 10 free spins yourself. That opens up a conversation with Haji on the left. Talk to them again at the bar, then in the sewers — the watch tower is east of Glardis. When you’re ready to start, speak to Haji again in the casino’s VIP area, and make sure the maid outfit is equipped.
When guessing the right keyword, just keep picking the top option until it lands. Waiting out the timer, or failing to set the number to 7, triggers an H-scene with Haji. Losing the battle with the devil after you go inside the machine also leads to an H-scene. Completing the quest gives you a choice: 150,000,000 Rori or an amulet with a 1.5x TP charge. After you finish, wait a day and come back — the rate shifts to 1:30, the payouts change, and there are different items to exchange for.
A Quarrel Even a Dog Would Stay Out Of
This is how you obtain the Liner Ticket. It can be accepted once the main quest sends you to Purun Island. Go to the inn in Gardis and the NPC will be sitting at the table. Then head to Sea God Balasso’s Shrine — straight north and west from the map when you leave Glardis, and you’ll find them on the B1 map. Either option progresses the quest, but the top one makes you fight one additional time.
In Search of Father’s Garb
Finishing this gives you the most powerful body armor in the game, so it’s worth chasing. To get the quest, head to the town on Purun Island and try to steal the sword stuck in the ground.
There are three pieces. The first is in Dogul Mine where the bandits are — it’s the green chest, which is a mimic. The other two can only be obtained after Racheli Tower transforms during the last main quest. One sits on the top floor of Racheli Tower, inside a rock on the right side, and the other is at the father’s grave at the church.
Rumpa’s Adventure
To start this, you need Thief Lvl3 completed and to be at least on the To Oasis Town main quest. Talk to Rumpa in the general shop in Glardis, then head to Dogul Mine — the same place you went for the Thief Lvl3 quest. Failing the fight there results in an H-scene.
Love Letter
This can only be taken during the main quest In Search for the Golden Key. Talk to Emily in the inn in Gardis. To reach Pirate Island Valgan, head to Sea God Balasso’s Shrine — from Glardis it’s North, North, East. The quest itself is simple back-and-forth conversation with each NPC. Note that there’s an H-scene if you haven’t completed Secrets of the Underground.
Swept Treasure
This becomes available right before the final fight. Talk to the NPC in Glardis, and the boss you’ll have to fight is in the sewers. I never found a follow-up or any use for the Rainbow-Colored Shell it awards, so if you figure that out, you’re ahead of me.
Post-Game Quests
Codemned No666
Talk to the guard in the prisons of the castle in Glardis. You’ll then find them at the Ancient Ruins of Galta on B6.
Cave of Pigs
Talk to Ashen Panda when you enter the castle to start this quest. It’s mostly just talking to people at the start, but before you enter the cave, save — being defeated inside results in a bad end.
Gallien & Krueger
Enter the blacksmith in Glardis to start this one. It’s genuinely straightforward, guided by the quest descriptions in your log and the NPCs you meet along the way.
Skills and Techniques Training
Every enemy you fight for these has a different overworld sprite, and most of the training quests are clear about what you need to defeat. A few, though, sit in hidden areas of the map you’re pointed toward. Here are the ones that gave me trouble.
Lockpicking Lvl3
The vault password is 5428167.
Empty Mind Training
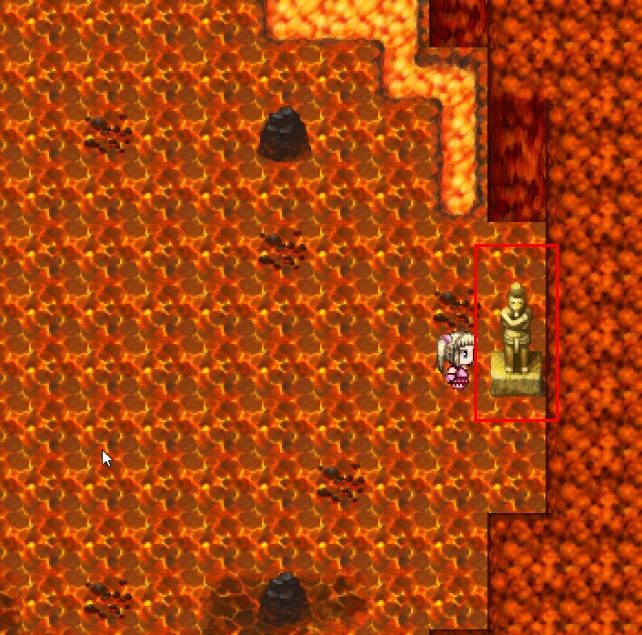
The Golden Statue is at the bottom of Dodonga Volcano, and the Ice Statue is in the Elven Village.
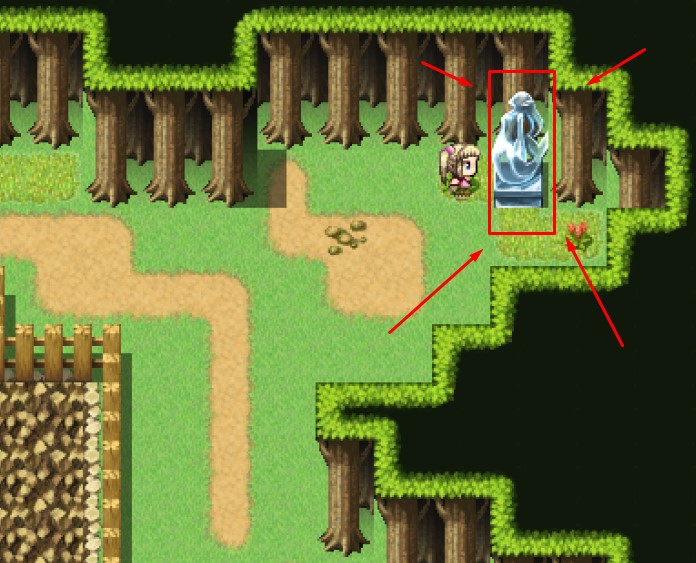
Armor Training
The path is next to the bones.