
Your first 48 hours in Pocket Monster: Dark&Light will determine whether you hit a resource wall at level 50 or cruise into the mid-game with a stacked SP team. Most new accounts collapse because they spend diamonds on the wrong banners, level the wrong characters, and ignore the SLG city-building layer entirely. This guide covers the exact sequence of decisions that keep your account healthy from day one through the early-mid transition, with hard numbers on diamond budgets, character breakpoints, and auction caps.
Diamond Economy & Hoarding Strategy
Diamonds are the single bottleneck that separates a functional mid-game account from a bricked one. The game rewards hoarding and punishes impulse spending with extreme prejudice.
Best value purchases (one-time):
- Benefits Grow Fund
- Double Diamond Passes
These return more diamonds per dollar than any other offer in the shop. Buy them on day one if you spend at all.
Daily mandatory spend:
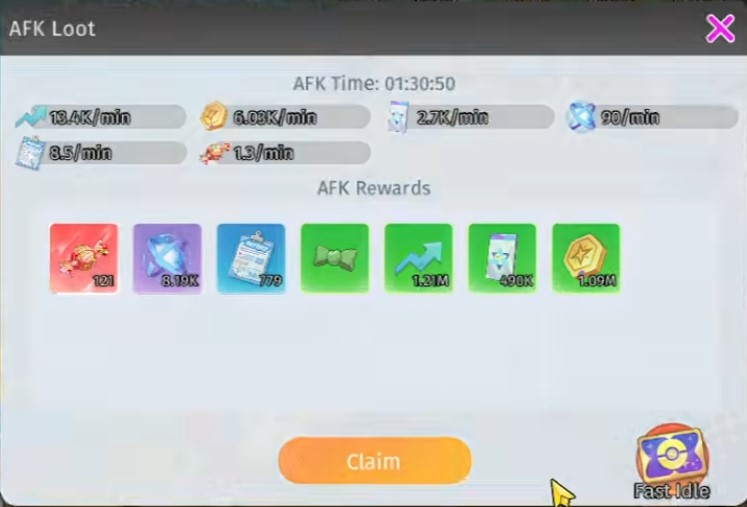
- Fast Idle / Fast Sweep: Buy every available sweep with diamonds. This is the only way to push player level past 221, and it directly gates your idle resource income.
- Stamina: Buy the first two refills daily. Each costs roughly 500 diamonds. The third refill jumps to a much higher price tier — never touch it.
Never spend diamonds on:
- Reconstruct / Recruit standard banners. Using diamonds for pulls here is the fastest way to ruin an account.
The Gachapon event target: Late-game, a limited Gachapon event drops powerful skill books and tactical books. To claim the full set in one go, you need 650,000 to 700,000 diamonds banked. Every diamond you waste early pushes that target further out of reach. Start hoarding from login one.
If you want to claim free diamond, please check out our gift codes list via this guide.
Character Rarity, Progression & Team Building
Character tiers run SR → SSR → SP (Mythical/Divine). The power gap between SSR and SP is not subtle — SSR units become unusable around account level 50.
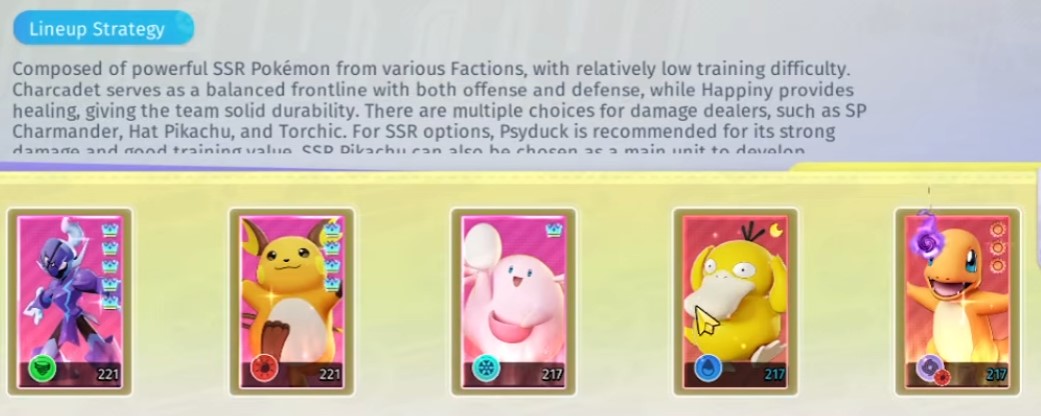
Early game team (levels 1–50): 4 SSR + 1 SP. This carries you through story content and early dungeons without issue.
Mid-game transition (level 50+): SSR stats and skill multipliers fall off a cliff. Use the Safe Reset feature to refund every resource invested in your SSR units. Pour everything into your main SP carry and build a full SP team.
Top main carry options:
| Pokémon | Role | Notes |
|---|---|---|
| Hat Pikachu (H-Pikachu) | Full DPS | Gets 100% of Training Points and all Purple/Gold/Red grade food. Purple+ food is the only grade that gives permanent stat boosts. |
| Charmander | Scaling DPS | Extreme late-game damage with Mega Form. Whale standard. |
| Charcadet | Defender | Free Mega skin from events, making it F2P-friendly. Low burst damage — not a solo carry. |
SSR tier list — keep or toss:
- Ralts (keep): Excellent support and healer. One of the few SSRs that stays useful.
- Bulbasaur (conditional): Can revive teammates if you max its skin. Worth keeping if you pull it.
- Squirtle / Psyduck (toss): Mediocre mechanics. Trap cards that waste resources.
- Munchlax / Chaney (early only): Decent early tanks and supports. Replace with SP units that have Invulnerability skills as soon as possible.
Reconstruct / Recruit System — Resource Optimization
Day one is a trap. You cannot pull Divine or Mythical SP units until you progress through story chapters. If you spend summon points on SR or standard SSR on day one, restart the account — it is not recoverable.
Summon points exchange mechanics:
- Base cost for one SP unit fragment: 900 points.
- Each exchange increases the price (next tier: 1,100 points).
- On the 1st of each month, the price resets to 900 points. Your accumulated points never clear.
- Strategy: Stop exchanging once the price climbs. Save points until the monthly reset, then buy at the cheapest tier again.
Special Summon (attribute-limited banner):
- If your main carry is H-Pikachu, stay on the “Sun” attribute banner.
- For other carries, stay on the “Nature” attribute banner.
SLG City Building, Technology & Clan Data
The city layer is not optional. Maxing your town hall early doubles your resource income through dispatch slots.
Construction and dispatch:
- Use every building speed-up immediately. Do not hoard them.
- Higher town hall level unlocks more dispatch slots. More slots means exponentially more gold and XP via the Patch All & Collect feature.
Technology research priority:
- Production & Resource: Max completely. This directly boosts daily gold and XP output.
- Support Stats: HP, Attack, and similar combat stats.
- Wilderness Stats: Useless in early game. Leave these for last.
Clan strategy — join the #1 clan: Joining the server’s top clan is essential for F2P survival. Clan War is the main event: members who capture the Main Statue at the center receive a free SP Charmander fragment or unit. The war has 4 phases, giving 4 fusion opportunities per cycle.
Clan leader priority: Max out “Max Guild Members” in guild tech. More members equals higher war win rate. A clan with 50 active members crushes a clan with 30, regardless of individual power.
PVP, Daily Dungeons & Cross-Server Content
Cross-server content is where F2P players can leapfrog in power, but only if they understand the auction cap system.
Cross-server boss auction: After defeating the boss, an auction starts for SP units and packs. Hard caps:
- SP unit card: Do not bid above 25,000 diamonds.
- Random SP card pack: Do not bid above 15,000 diamonds.
Walk away if the price exceeds these limits. Even if you have no diamonds, participate daily to deal damage — you receive dividend diamonds based on damage dealt.
Team Trial (multi-server): Clearing high floors (floor 29+) drops extremely rare CP/SP character fragments. Social strategy: add the top whales from other servers as friends. They can carry you through trials, letting you access rewards far above your actual power level. It is better to be a F2P in a whale server than to be #1 in a dead server.
Element Tower: This mode restricts team composition by element. Your main team will be locked out. Keep backup SR units at least at “One Moon” rarity to handle the tower’s lock mechanic and farm tower resources. Do not neglect this — tower rewards include rare upgrade materials.
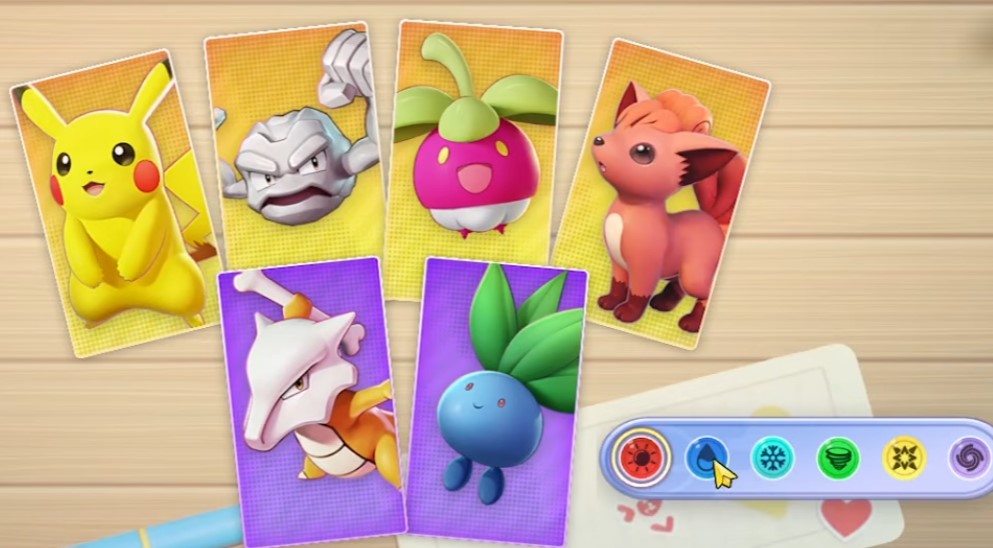
P2W vs F2P — Purchase & Hoarding Strategy
Pocket Monster: Dark&Light is 100% pay-to-win, but F2P players can progress with patience and correct hoarding discipline.
Day 1 $2 Super Pack: Strongly recommended even for F2P. It grants a core fragment for your current main carry. This is the highest value-to-price item in the shop.
Dolphin (low spender) plan: Only buy Double Diamond Passes / Funds and limited-time exclusive banners. Skip everything else.
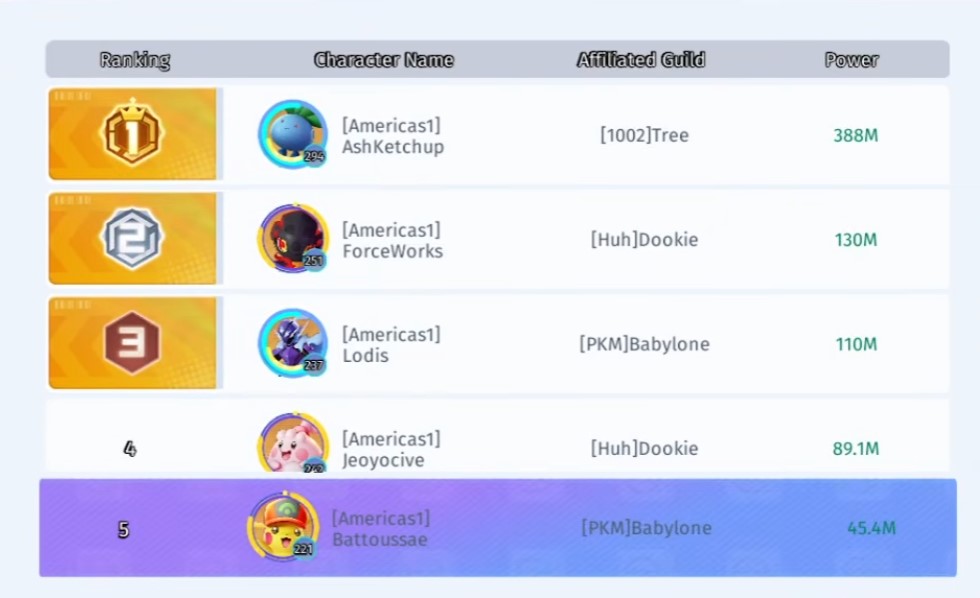
Resource hoarding event: A few days after server launch, a “Spend Materials for Rebates” event appears. After building basic power in the first few days, stop using XP potions, breakthrough stones, and similar materials. Hoard everything until the event goes live. Then spend it all at once to climb the leaderboard and double your resources. This single trick can put a F2P account ahead of small spenders who burn materials immediately.
Related Posts:
- Pocket Monster: Dark&Light – How to Boost Your Pokemon with Research Institute
- Pocket Monster: Dark & Light – How to Evolve Your Pokémon
- Pocket Monster: Dark&Light Codes for July 2026
