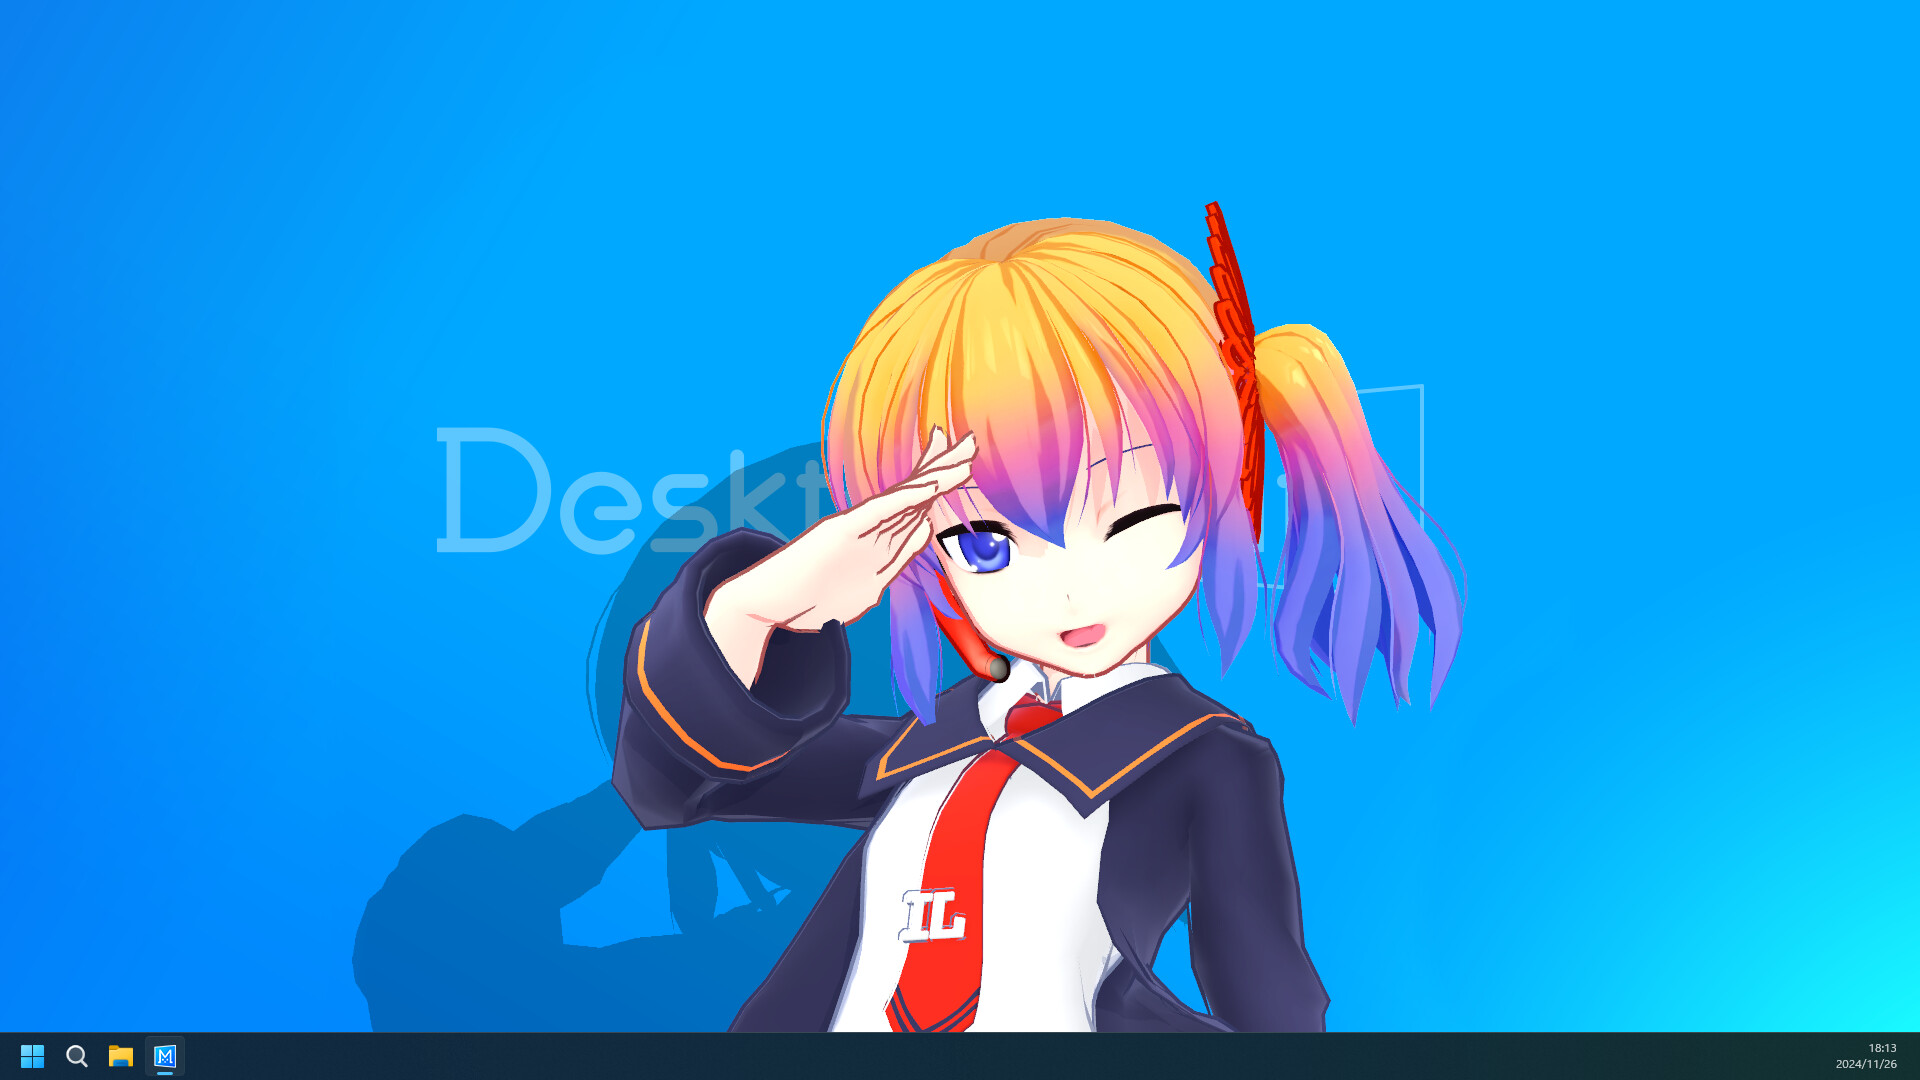
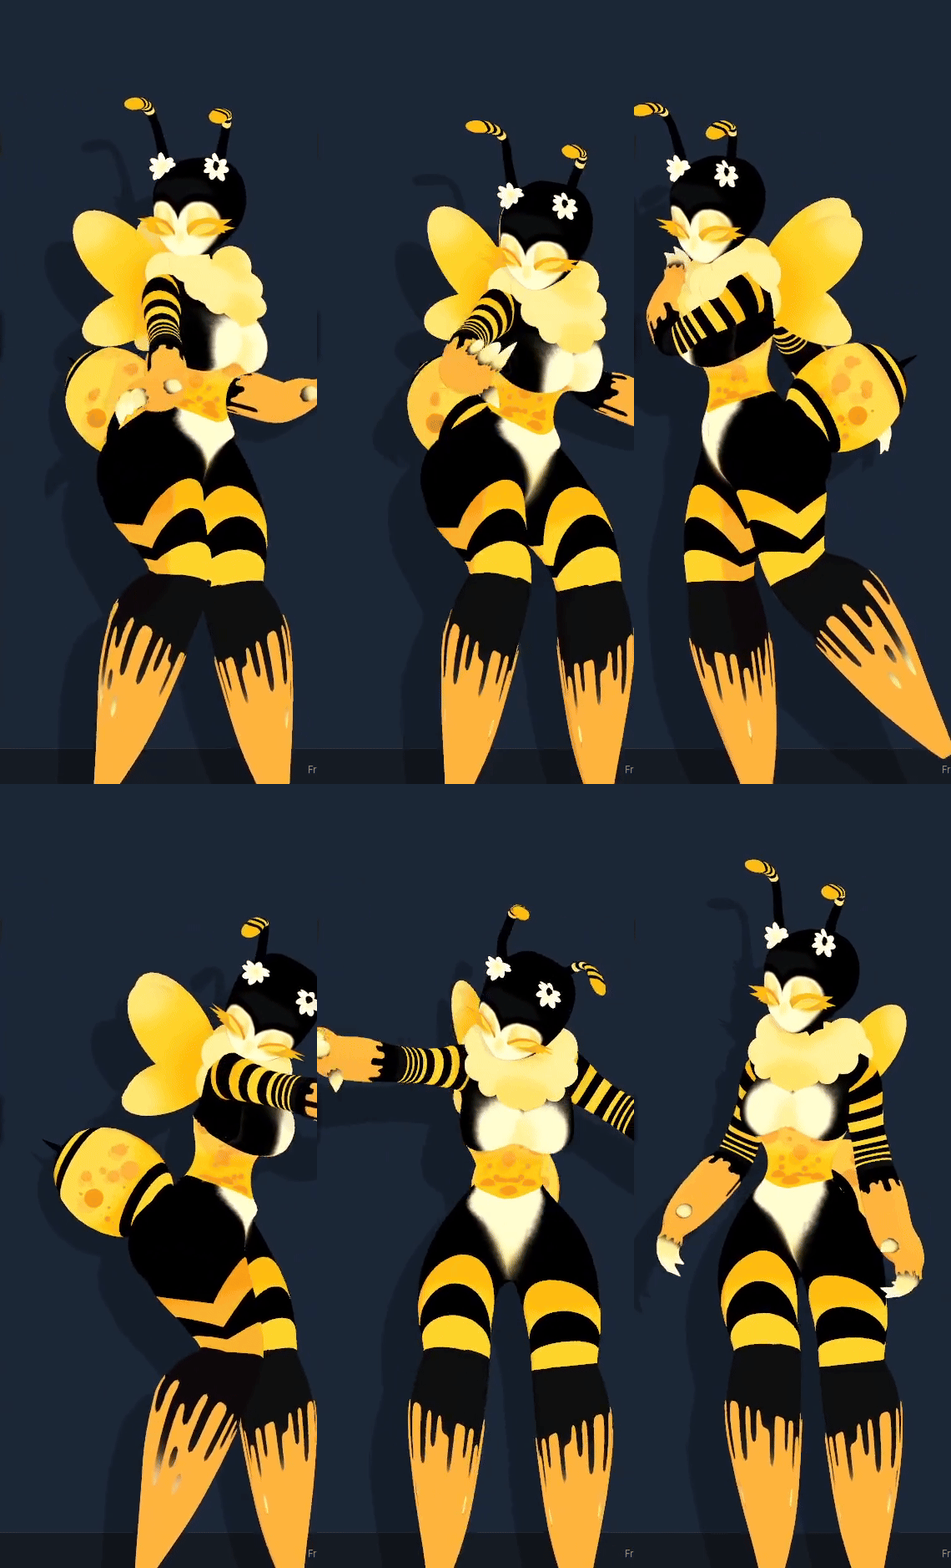
This guide is meant to go along with this mod here that allows loading of custom characters.
First of all Download Custom Avatar Loader and UniVRM from Github
Download UniVRM[github.com] from here and move on to the next section, we’ll use this later.
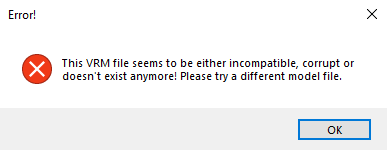
Why must we convert them to VRM 1.0?
Setting up Unity (2022.3 LTS or below ONLY!)
Download Unity Hub[unity.com] an create a account and accept any thing it asks you.
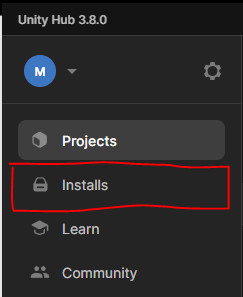
Head to the side bar on the left and click on “Installs” and then navigate to Install editor and choose 2022.3.55f1 (i will be using 2022.3.22f1 but it should work the same)

Now that its finished installing go back to the projects tab, and click “New Project” and create a project, name it anything and make sure its editor version 2022.3.55f1 and 3D (Bult-In-Pipeline)
Setting up UniVRM and importing/exporting your .vrm
Once the project is created and loaded, drag in the UniVRM .unitypackage into the editors asset tab (at the bottom) and wait for it to finish importing, it will take a bit. Once done, import your .vrm file into the same asset tab.
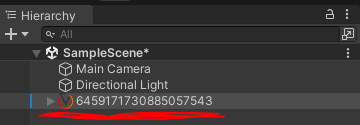
Drag your custom .vrm into the unity hierarchy and click on it. Go up to the top navigation bar and click on “VRM1”. Once their click on, “Export VRM 1.0” AND DONT CHANGE ANYTHING! and then Export at the bottom right of the window. Save it somewhere where you wont delete or missplace it.
![]()
Loading the vrm into Desktop Mate
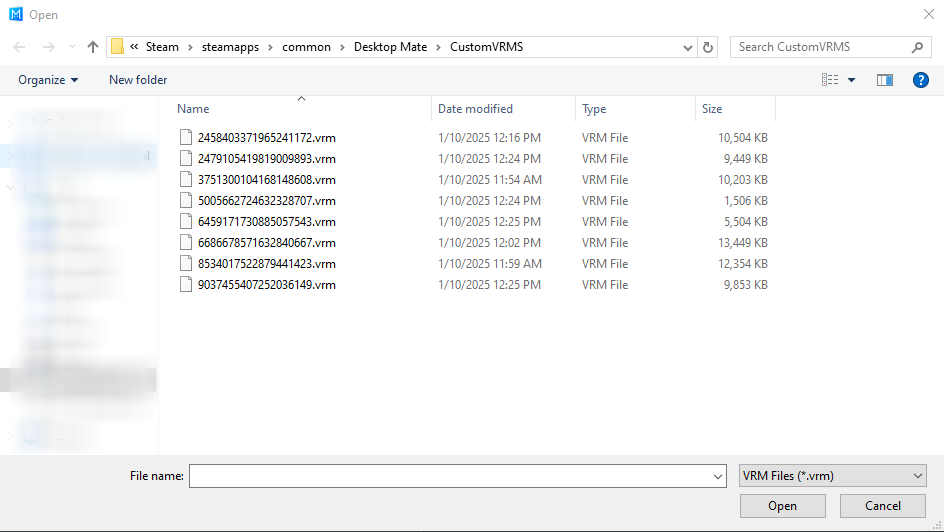
Assuming you got the pre-required mod installed, you should now be able to press F4 when tabbed into the Desktop Mate window. It will ask you for the location of your custom .vrm, select the .vrm you want and it will freeze for a second and your custom model should now be loaded!!!!
Related Posts:
- Desktop Mate: How to Set a Custom Avatar without a Workshop
- Desktop Mate: How to Add it to Windows Startup
- Desktop Mate: Custom Avatar Loader Mod

