Just a bit of everything.
Ingredients
These are important to collect, needed for upgrading/building your Axolotl the way you want them to be.
You will come across these randomly but will be needing to shoot them about 3 times before they break down, so that you can collect the ingredients.
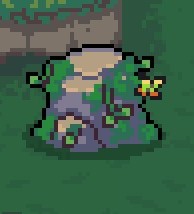
Leaves
Can be found in the first biome.
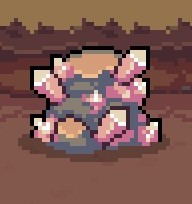
Salt Mine
Can be found in the second biome.
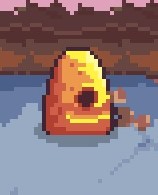
Honey
Can be found in the third biome.
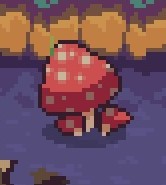
Mushroom.
Can be found in the fourth biome.
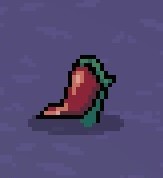
Don’t shoot these Red Pepper
Beware of these in the fourth biome, they explode.
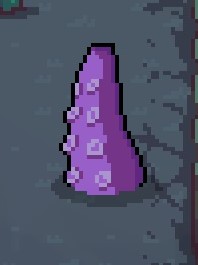
Tentacles
These are in the fifth and final biome.
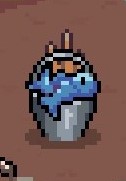
Fish
After each Boss Battle, you’ll come to some resting map, with a fire to your right that heals you and a fish that’s fishing on your left.
Shoot his bucket to collect the fish.
Cookies

You may find these buggers here and there while just playing the game.
These are ”for now” only meant for unlocking your 3th stat on your Axolotl.
The Specialization upgrade.
How?
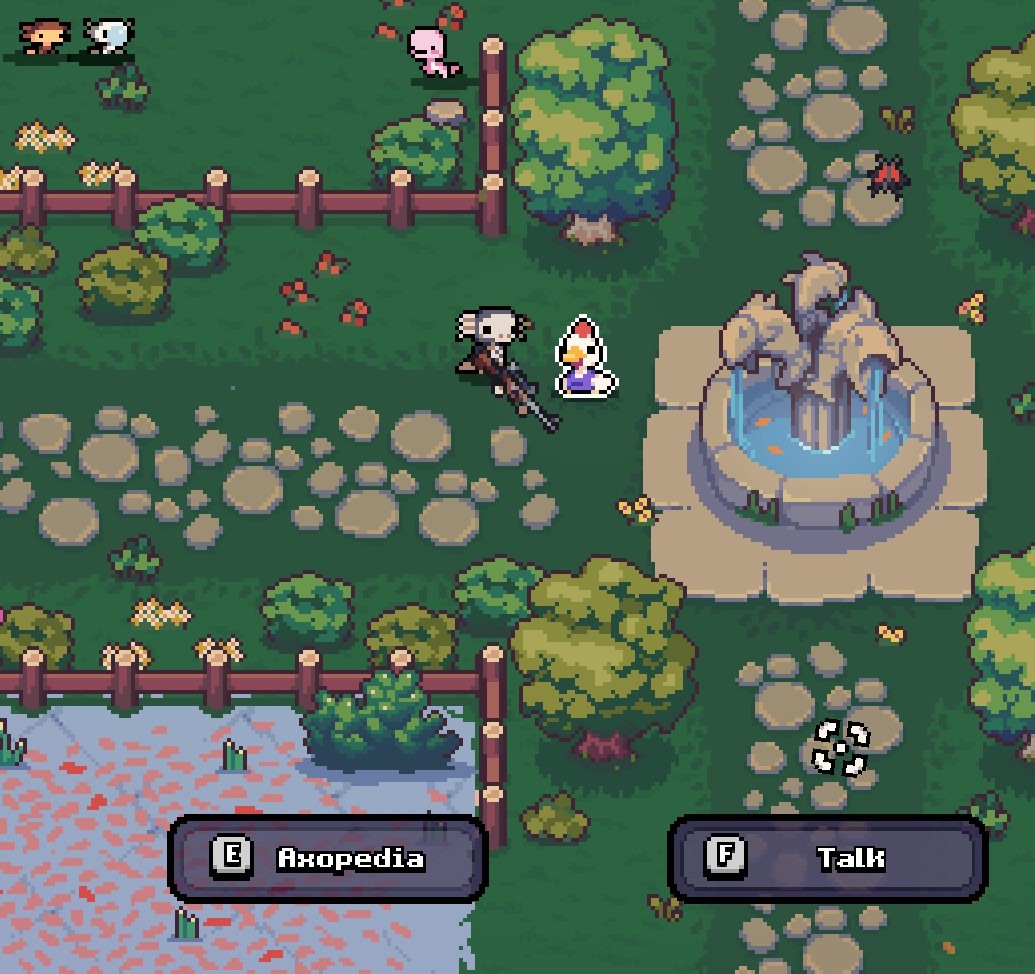
First you walk up to the chicken to open up your Axopedia.
——————————————————————————————————-
You’ll see in your screen that you can press [R] to open up your ”Weapon Spec”.
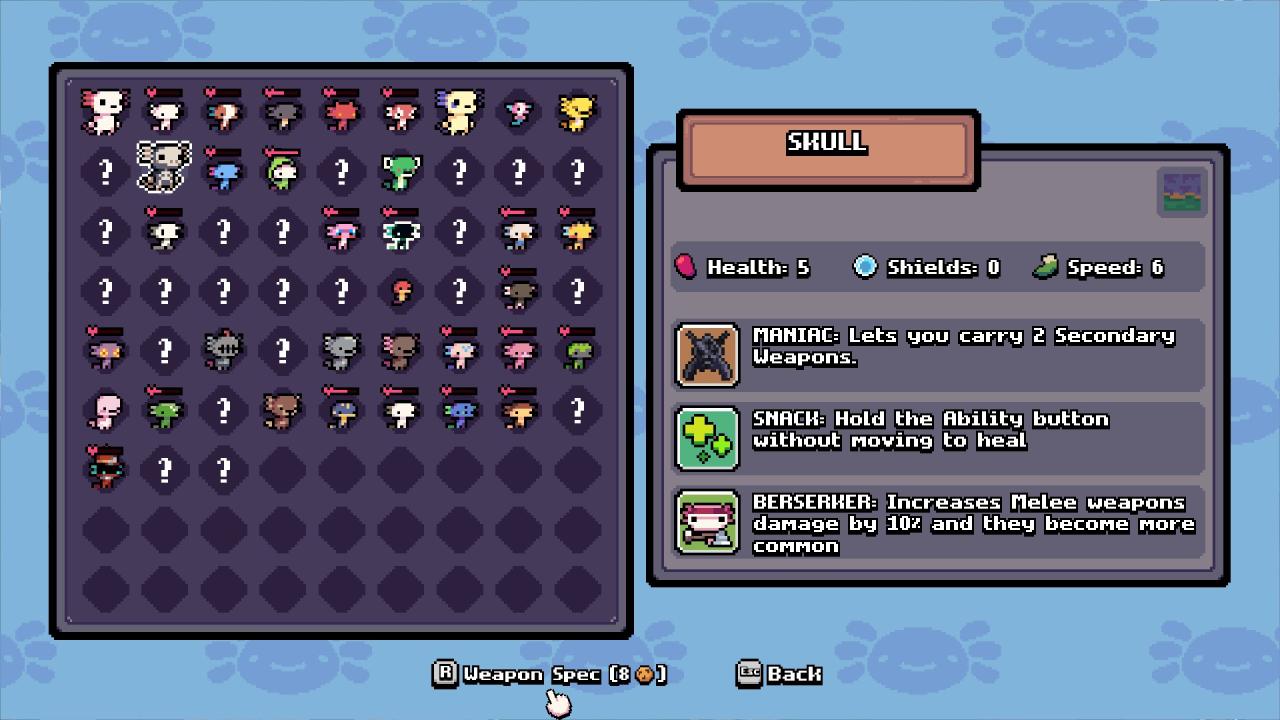 ——————————————————————————————————-
Note: If your Axolotl isn’t fully grown, it won’t show up cause babies can’t learn it.
——————————————————————————————————-
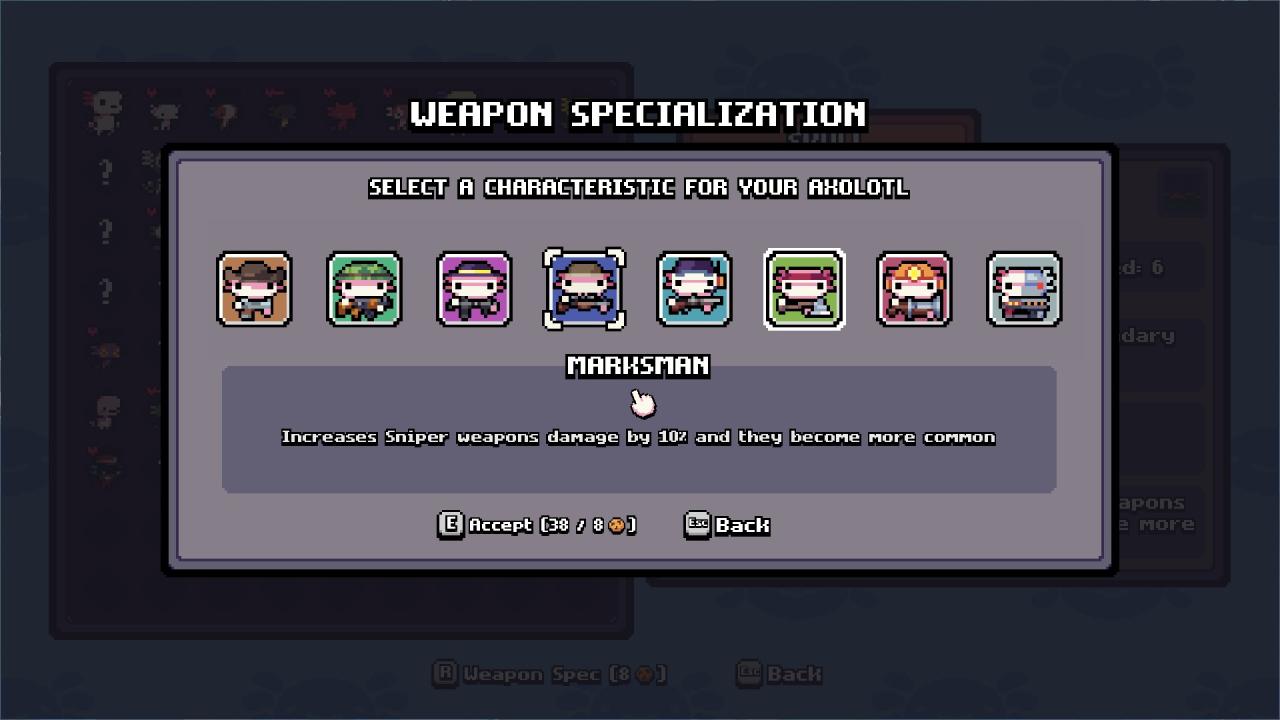
Now you may choose which Passive you want to give your Axolotl.
Cooking up your stats
Once one or more Axolotl are fully grown at this point, they can be fed.
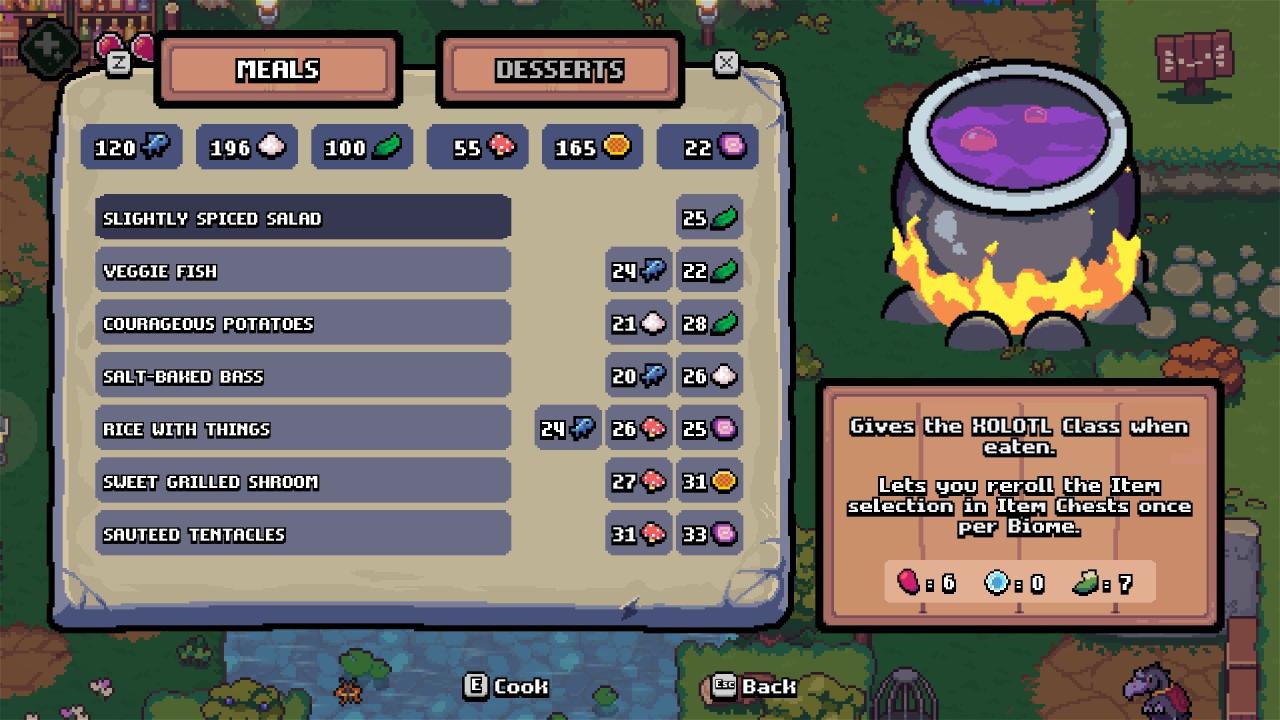
So when the time comes and you have enough of each ingredient, it’s time to start cooking!
Each meal has it’s own ingredients and stats, read these carefully before you waste your ingredients.
Just an example view of the 3 bars of stats your Axolotl can have.
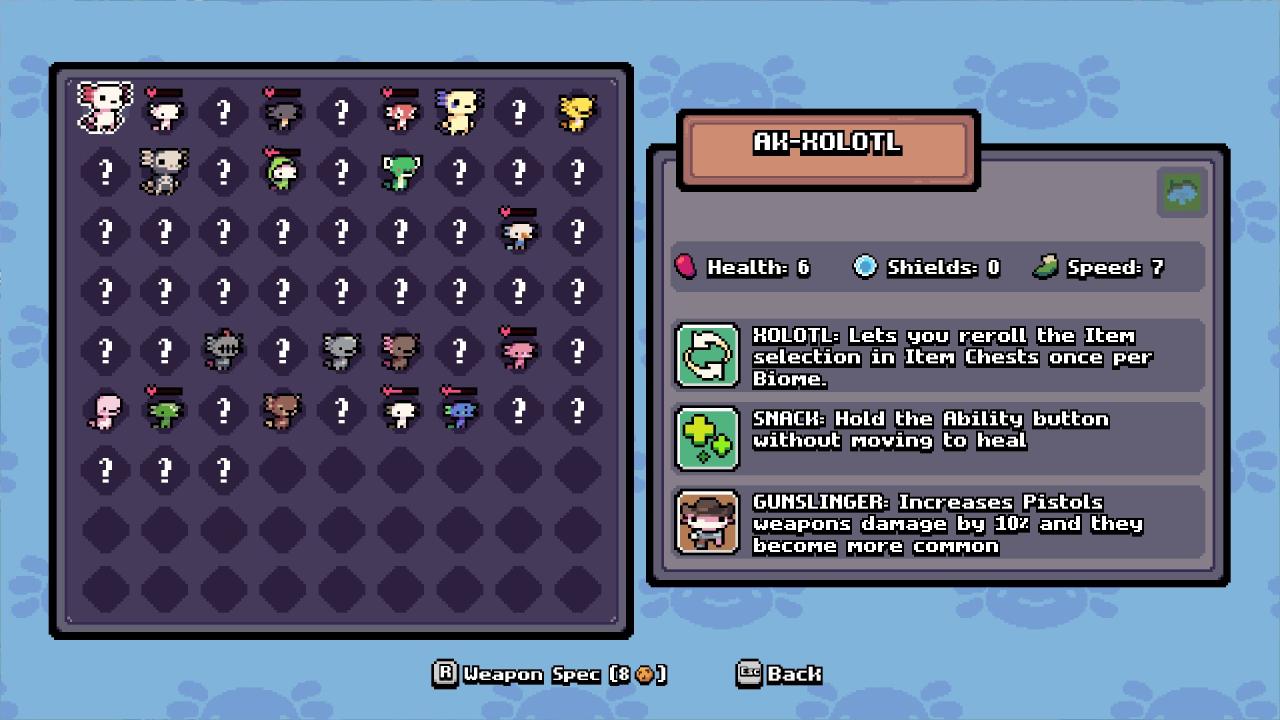 ——————————————————————————————————-
The first bar of stats is given through Meals.
These show how much Health, Shields and Speed your Axolotl is gonna get.
 ——————————————————————————————————-
As for the second bar of stats comes from Desserts.
This will be the ability your Axolotl will use.
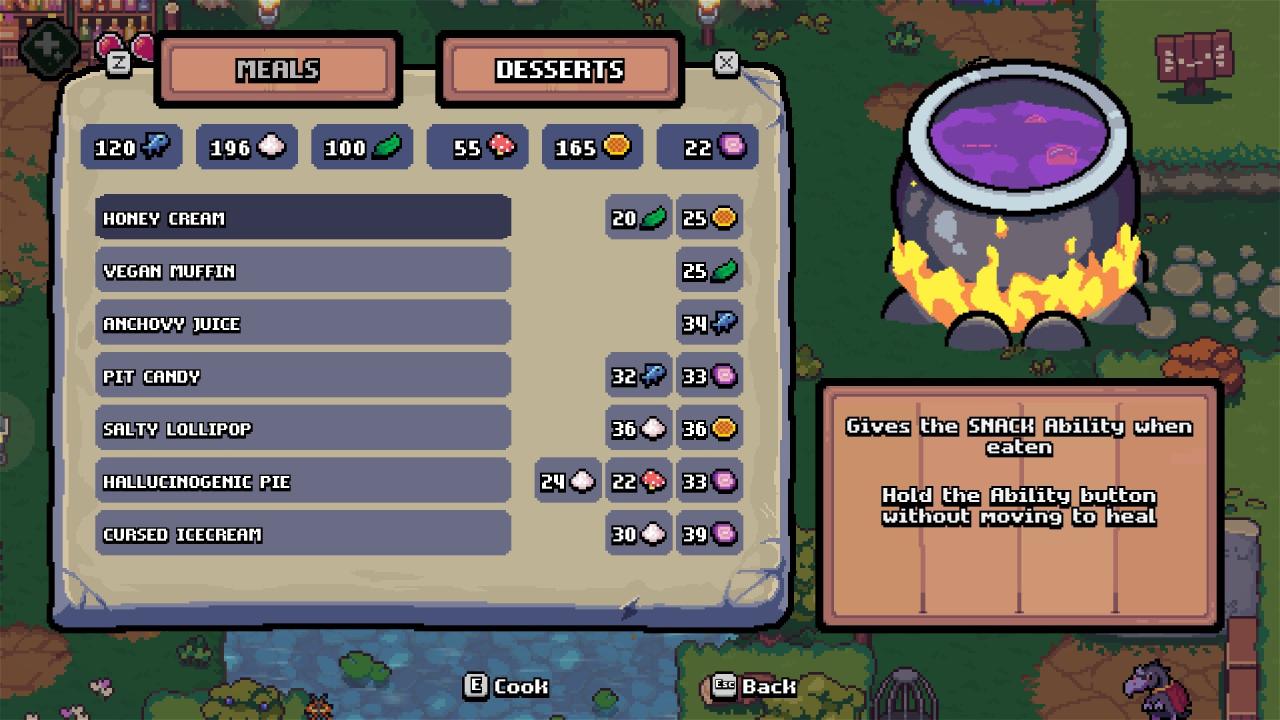 ——————————————————————————————————-
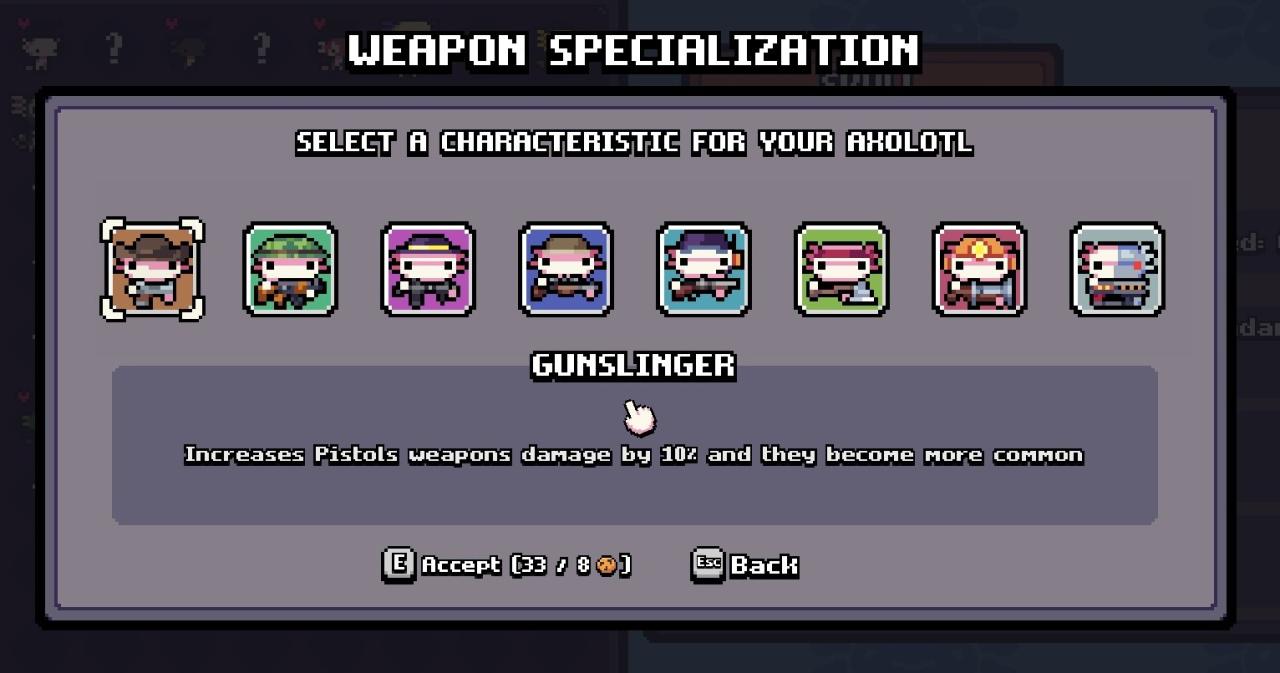
But for the third bar, you will be needing Cookies.
Yes.. Cookies… Collect 8 of them through your playthroughs and you’re done!
These will let you pick an specialization passive for your Axolotl.
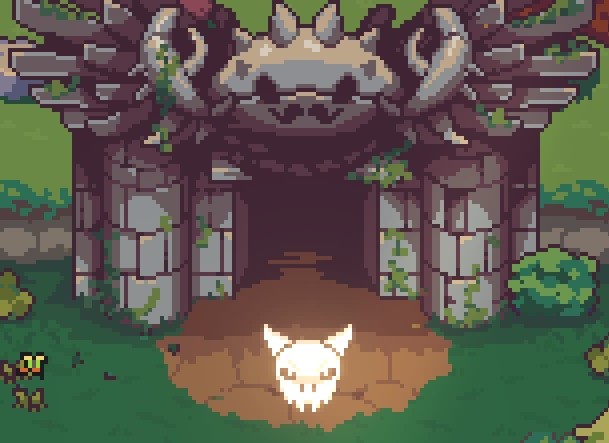
Gate Icons
Perhaps not really needed but still i wanted to add it here too.
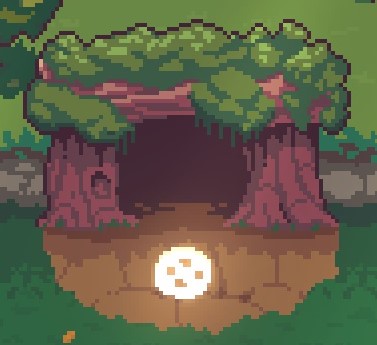
Cookie Icon -> Guarantee Cookie drop.
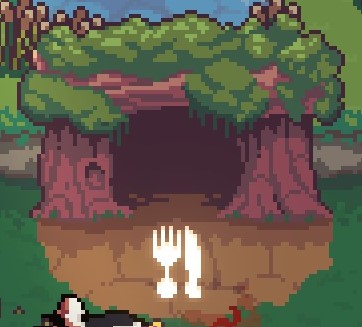
Cutlery Icon -> Guarantee Ingredients drop.
Diamond Icon -> Guarantee Diamonds drop.
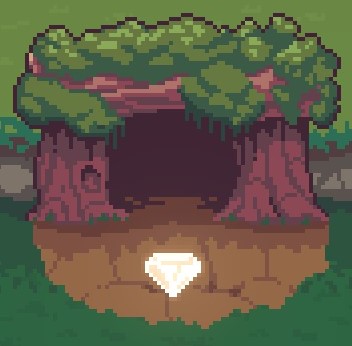
Health Icon -> Guarantee Medkit drop.
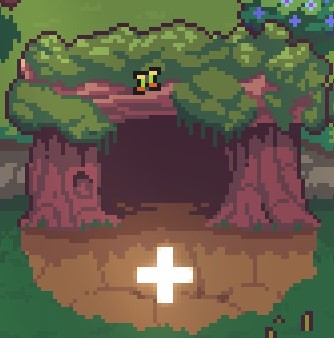
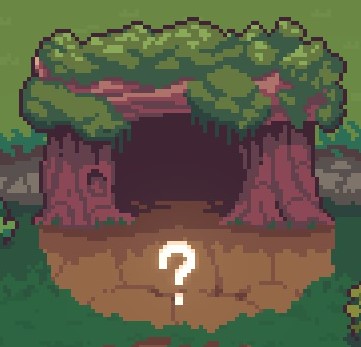
Questionmark Icon -> Random drop.
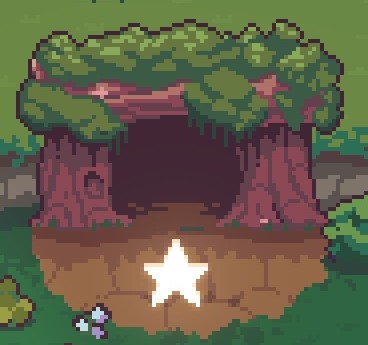
Star Icon -> You get to pick between 3 options, these may help your playthrough.
Doritos (Doraditos) Icon -> Guarantee Doraditos drop, used for Store.
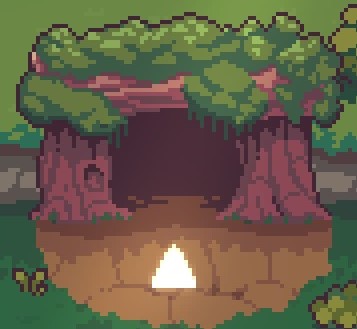
Weapon Icon -> Guarantee Random Weapon drop.
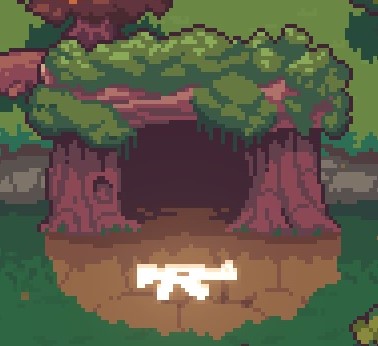
Store Icon -> Will led you to a Store where you can spend your Doraditos.
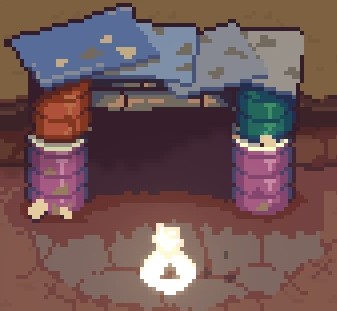
Axolotl Icon -> Here you will get new baby Axolotl.
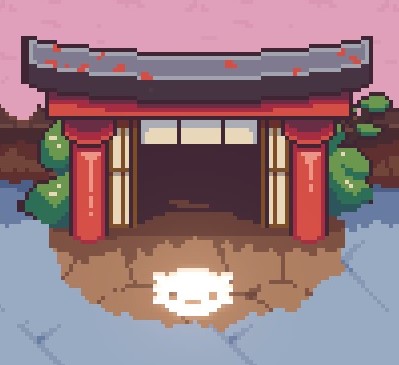
Boss Icon -> Boss Battle.
Hidden Rooms
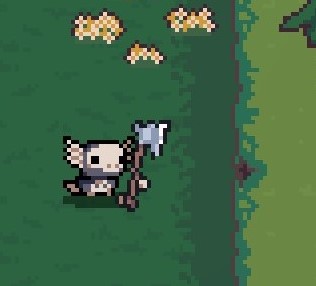
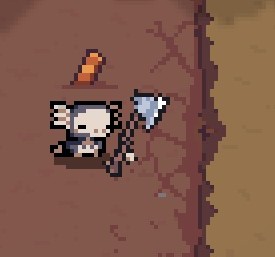
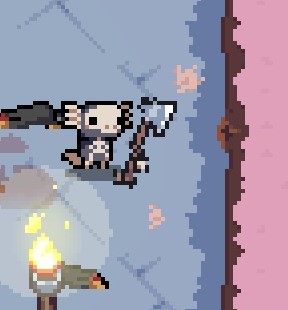
Once your loot chest has spawned in (looted or not), only then can the wall be shot down.
Now what i’ve noticed is that all my Hidden Rooms where on the Right Side of the map.
Here is how they look like, keep an open eye!
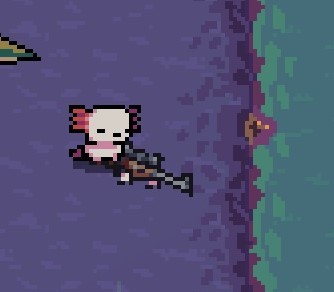
——————————————————————————————————-
In these Hidden Rooms i’ve found a few things.
– A baby Axolotl.
– A chest with random loot. (Doraditos / Ingredients / Diamonds / Cookie / Weapons)
– Sometimes monsters.
– Sometimes even nothing… Empty.
I did got a Mario Easter Egg at one point! xD
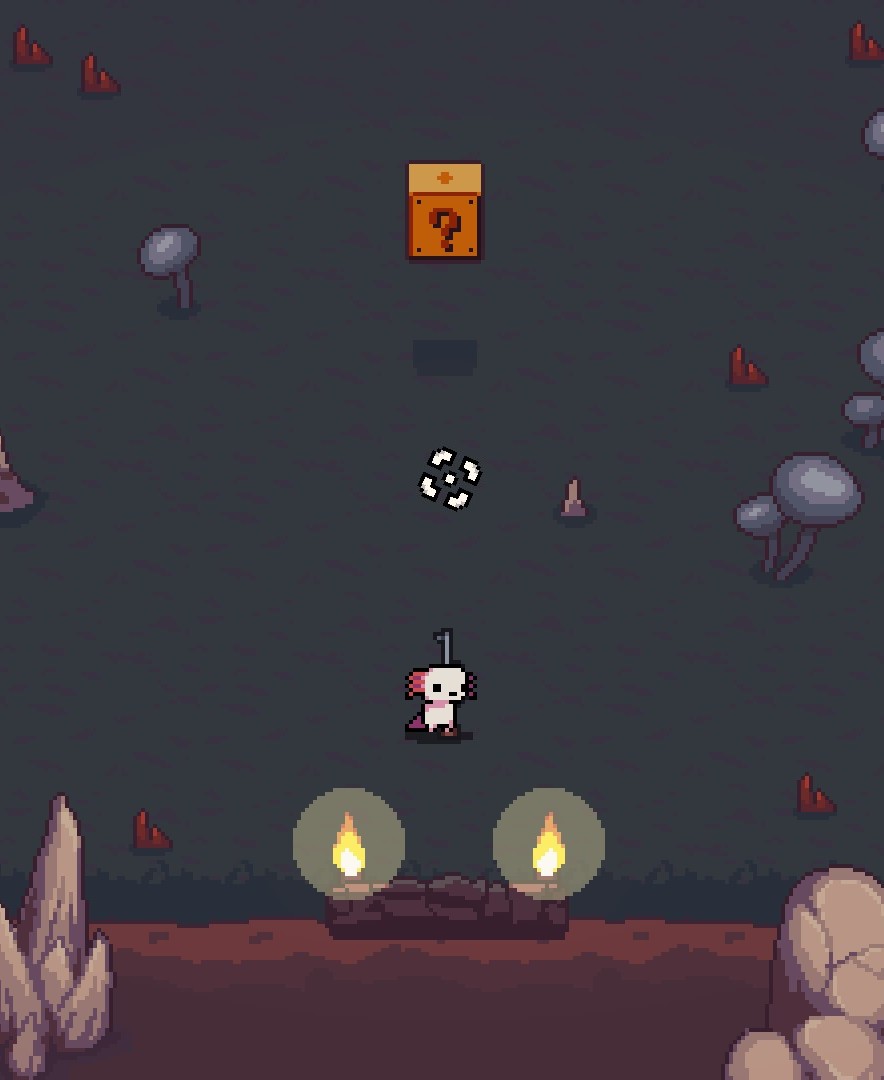
The Blisstaker
These will get you Perma-upgrades, useful and always good to have.
So it’s best to focus on this once you have it available.
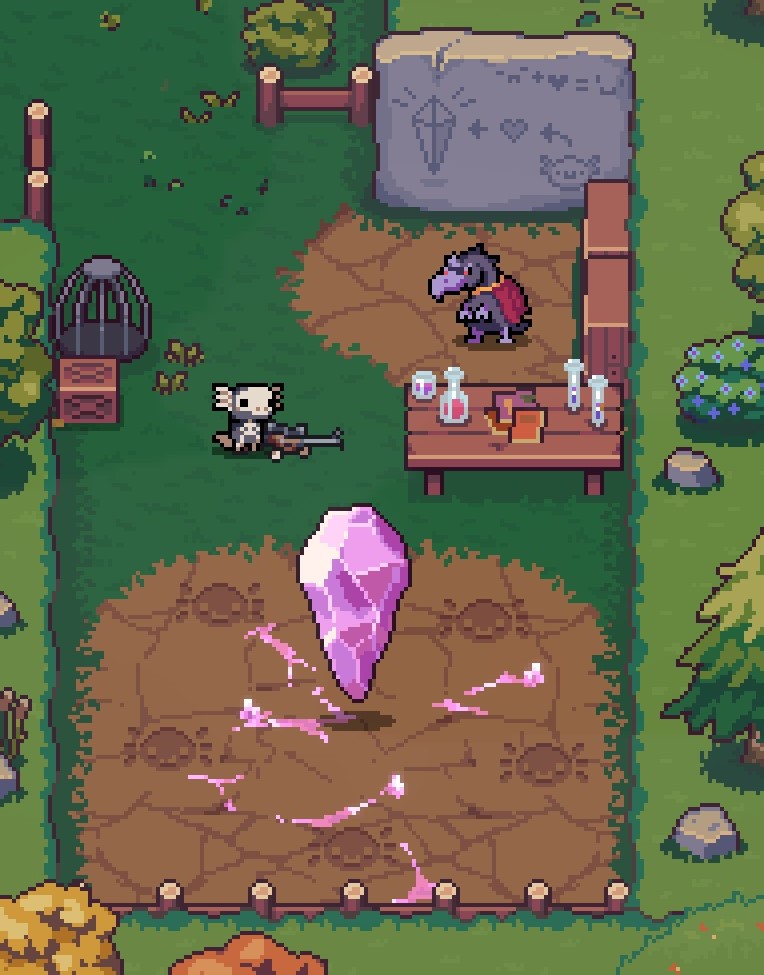 ——————————————————————————————————-
Your first step is getting you to Nurture your baby axolotl’s.
Note: Don’t grow them! Otherwise it won’t work anymore.
Best is to have the ”Love bar” full before absorbing, for more Hearts.
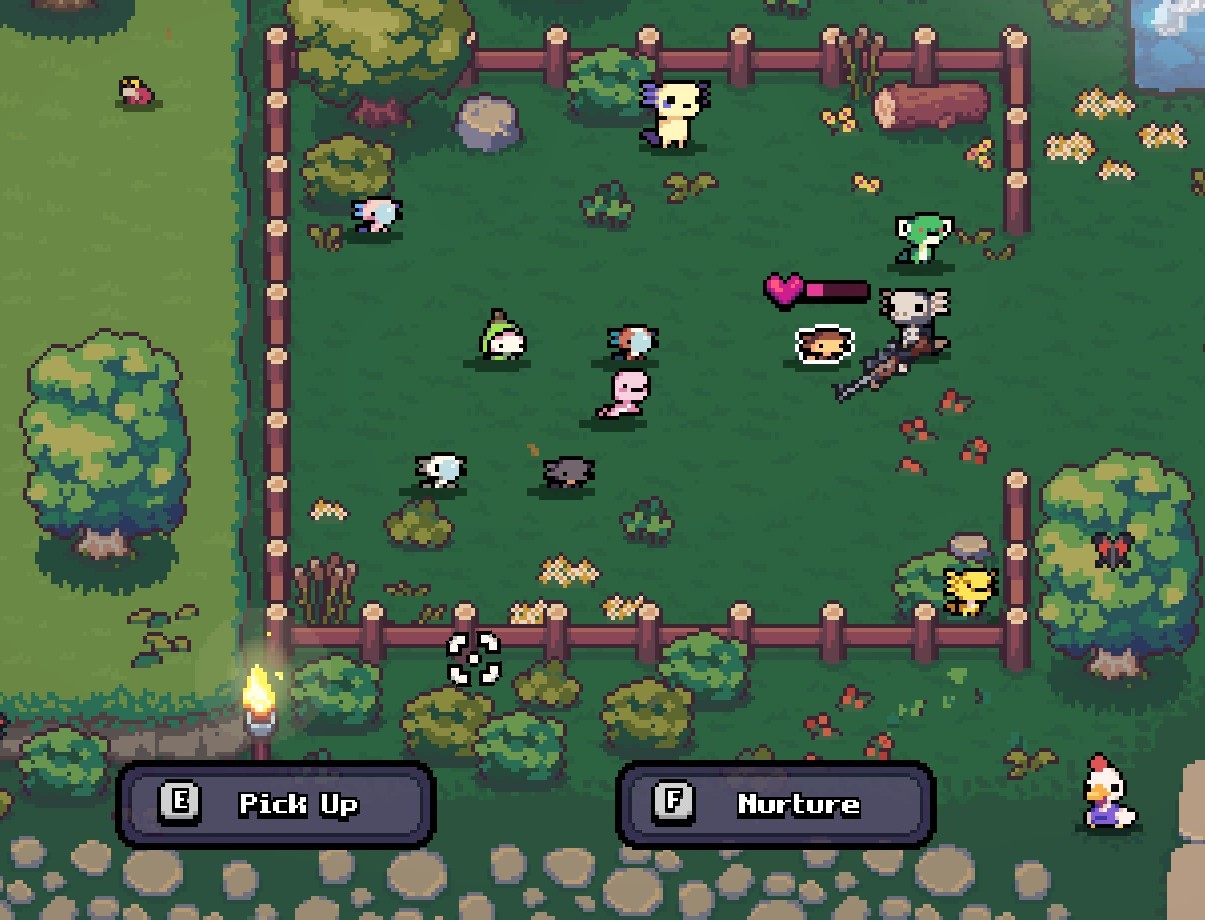 ——————————————————————————————————-
Place them around the Crystal like this and Absorb.
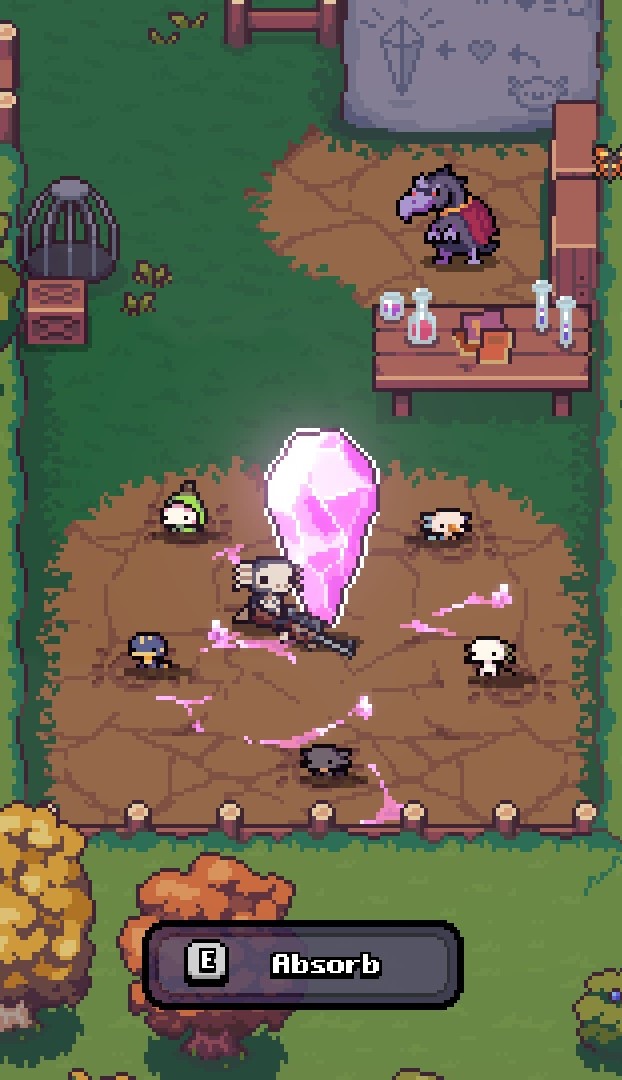
Now talk to the Crow and he will have a list of option you can choose from.
Worthy note: After you have absorbed the babies, they will go to sleep, see this as a cooldown.
You will not be able to Nurture them again for a while.
Updating the guide in whatever way needed.
I made this just for fun and for whoever found it at least a bit helpful.
If there is something else you want added to this guide, just leave a comment down below.
As i might just add more and more with each future update.
Thanks to Draxaze for his excellent guide; all credit belongs to his effort. If this guide helps you, please support and rate it via Steam Community. Enjoy the game.

Is there any info on the babies you raise after you do the sacrifice? I’m a bit confused on how it works
updated!
Could you add a list of all the items with their descriptions?